If you’re looking to add a simple yet indulgent treat to your culinary repertoire, chocolate-dipped pretzels are the perfect choice. Combining the satisfying crunch of pretzels with the rich sweetness of chocolate, this snack is ideal for parties, gift-giving, or satisfying your own sweet tooth. Let me guide you through crafting these delightful confections in your own kitchen.
Ingredients
- Pretzels:
- 24 pretzel rods or mini pretzel twists
- Chocolate Coating:
- 8 ounces semisweet chocolate chips or chopped chocolate
- 8 ounces white chocolate chips or chopped white chocolate (optional for contrast)
- Optional Toppings:
- Sprinkles (assorted colors and shapes)
- Crushed nuts (peanuts, almonds, pistachios)
- Toasted coconut flakes
- Crushed candy canes (for a festive touch)
- Drizzled caramel or peanut butter
- Edible glitter or gold dust
Instructions
1. Prepare Your Workspace
- Line Baking Sheets: Cover one or two baking sheets with parchment paper or silicone baking mats. This will prevent the pretzels from sticking once the chocolate sets.
- Organize Toppings: Place your chosen toppings in shallow bowls or plates for easy access during decoration.
2. Melt the Chocolate
Using a Double Boiler:
- Set Up Double Boiler: Fill a saucepan with a few inches of water and bring it to a simmer. Place a heatproof bowl on top, ensuring it doesn’t touch the water.
- Melt Chocolate: Add the semisweet chocolate chips to the bowl, stirring constantly until smooth and fully melted.

- Repeat for White Chocolate: If using white chocolate, melt it in a separate bowl following the same method.
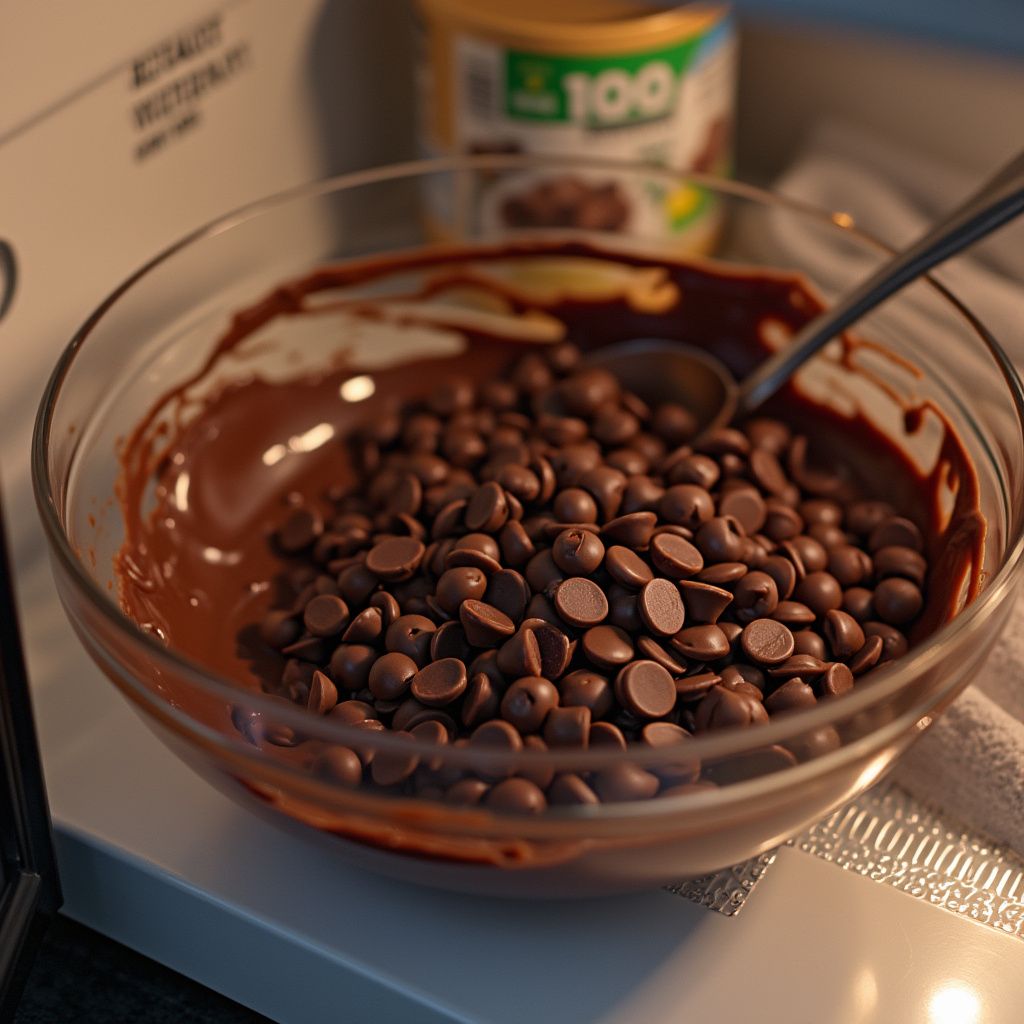
Using a Microwave:
- Melt Chocolate: Place chocolate chips in a microwave-safe bowl. Heat in 30-second intervals, stirring after each, until the chocolate is smooth and fully melted.

3. Dip the Pretzels
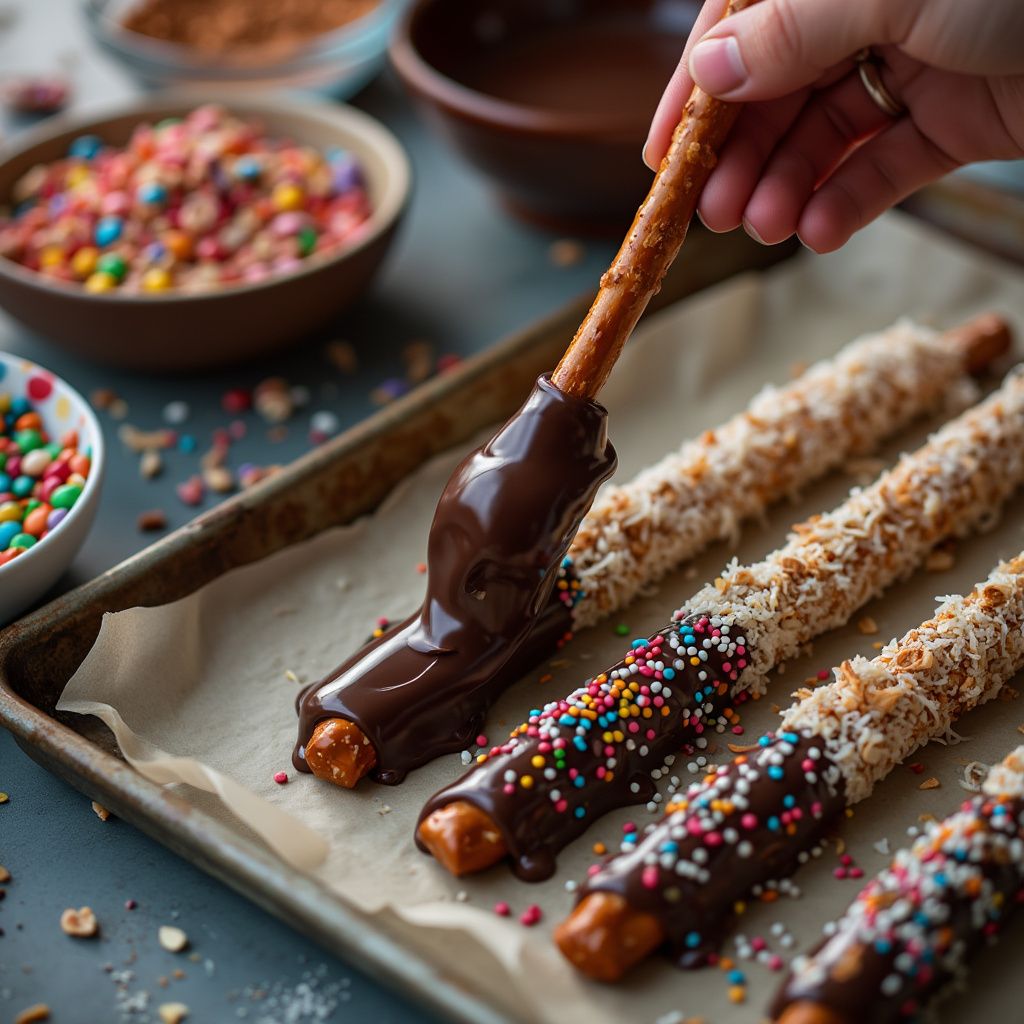
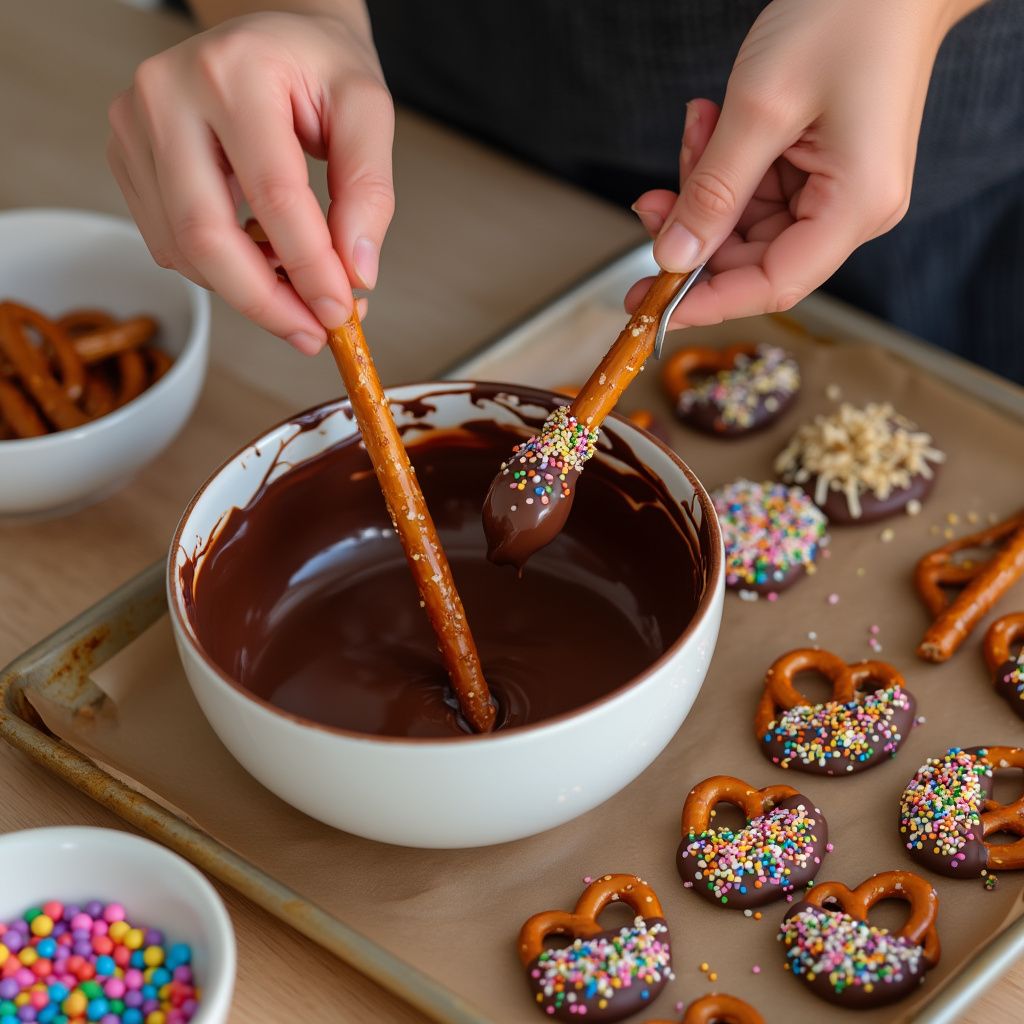
- Coat Pretzels: Hold a pretzel rod or twist by one end (or use a fork for twists) and dip it into the melted chocolate, covering it about two-thirds of the way. Gently tap or scrape the excess chocolate off on the side of the bowl.

- Add Toppings: Immediately sprinkle your chosen toppings over the chocolate-coated part of the pretzel before it sets.
- Place on Sheet: Lay the decorated pretzel on the prepared baking sheet.
- Repeat Process: Continue dipping and decorating the remaining pretzels, reheating the chocolate if it begins to thicken.

4. Allow Chocolate to Set
- Refrigerate (Optional): For quicker setting, place the baking sheets in the refrigerator for about 15-20 minutes.
- Room Temperature: Alternatively, let the pretzels sit at room temperature until the chocolate hardens completely.
5. Serve and Store
- Presentation: Arrange the chocolate-dipped pretzels on a decorative platter or package them in cellophane bags for gifting.
- Storage: Store in an airtight container at room temperature or in the refrigerator for up to two weeks.
Tips for Success
- Quality Chocolate: Use high-quality chocolate for the best taste and texture. Chocolate chips are convenient, but baking chocolate bars often melt more smoothly.
- Tempering Chocolate: For a glossy finish and snap, consider tempering the chocolate. This is especially useful if you’re making them as gifts or for special occasions.
- Avoid Moisture: Ensure all utensils and bowls are completely dry. Any water can cause the chocolate to seize and become grainy.
- Flavor Variations: Add a drop of peppermint extract to the white chocolate or a pinch of cinnamon to the semisweet chocolate for extra flavor.
- Double Dipping: For a layered look, dip the pretzels first in one type of chocolate, let it set, then drizzle or dip in a second type.
- Microwave Caution: When melting chocolate in the microwave, be careful not to overheat it, as chocolate can burn easily.
Conclusion
By mastering chocolate-dipped pretzels, you’re embracing a treat that’s both delightful to make and satisfying to eat. This easy recipe allows for endless creativity, making it perfect for involving kids in the kitchen or customizing gifts for loved ones. Share these sweet and salty confections with family and friends, and enjoy the smiles they bring to your table. Happy snacking!

