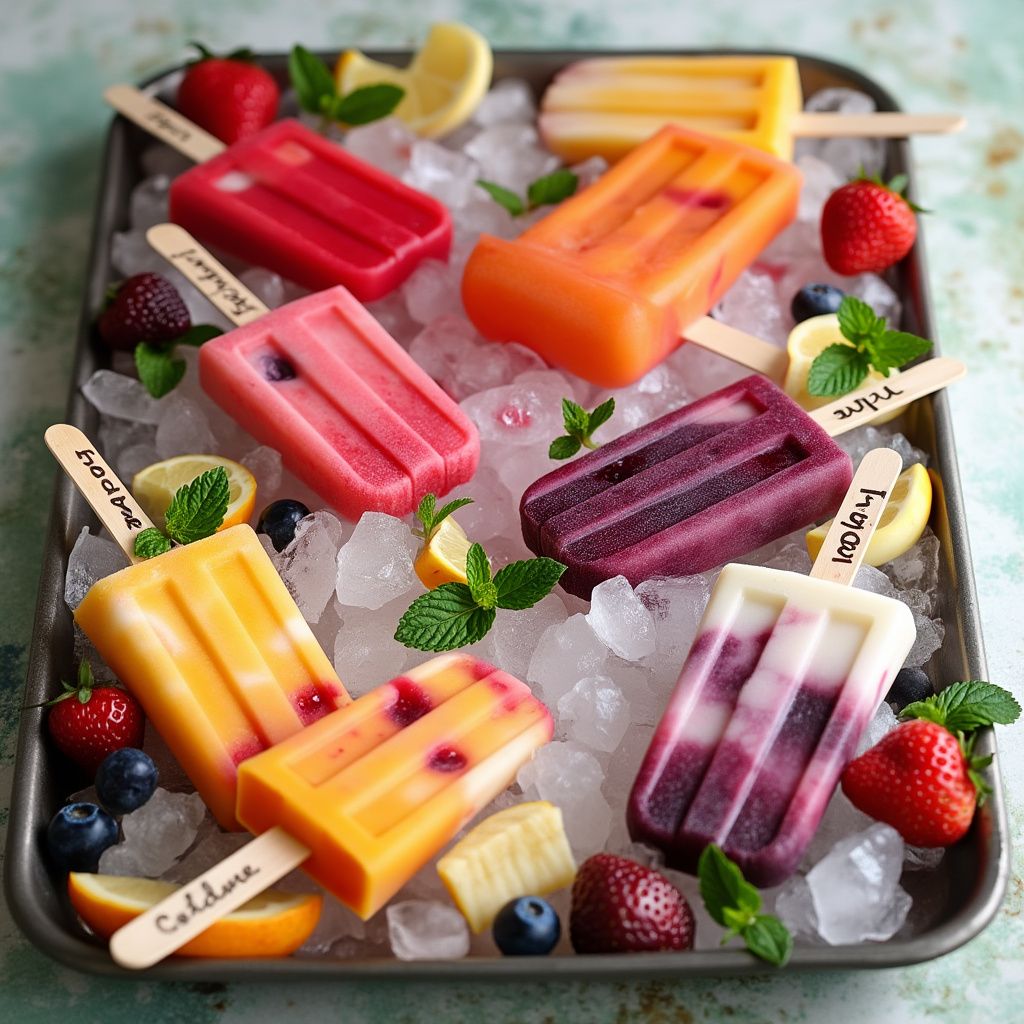
If you’re looking to add a fun and cooling treat to your culinary repertoire, homemade popsicles are the perfect choice. Ideal for hot summer days, parties, or a delightful dessert, these frozen delights allow you to combine your favorite flavors and ingredients into a personalized icy snack. Let me guide you through crafting these refreshing and customizable popsicles in your own kitchen.
Ingredients
Basic Popsicle Recipe (Makes about 6-8 popsicles depending on mold size):
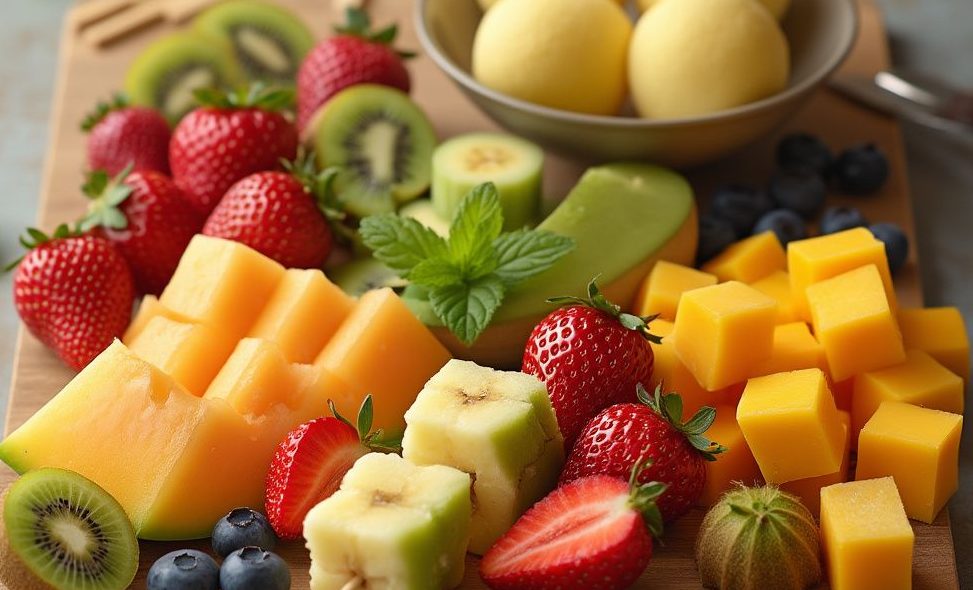
- 2 cups fresh or frozen fruit (such as strawberries, blueberries, mangoes, peaches, or watermelon)
- 1 cup liquid base (like water, coconut water, fruit juice, yogurt, or milk)
- 2-4 tablespoons sweetener (optional, like honey, agave nectar, or sugar)
- 1 tablespoon fresh lemon or lime juice (optional, enhances flavor and preserves color)
Optional Add-ins:
- Chopped fresh fruit pieces
- Herbs (like mint or basil)
- Chia seeds or flaxseeds
- Coconut flakes
- Chocolate chips or shavings
Equipment Needed:
- Popsicle molds (or small paper cups and popsicle sticks)
- Blender or food processor
Instructions
1. Prepare the Fruit Base
- Wash and Prep Fruit: Rinse fresh fruits thoroughly under cold water. Peel, core, or pit the fruits as necessary, and cut them into chunks suitable for blending.
- Blend Ingredients: In a blender or food processor, combine the fruit, liquid base, sweetener (if using), and lemon or lime juice.
- Puree Until Smooth: Blend the mixture until it reaches a smooth consistency. For a chunkier texture, pulse the blender a few times instead of pureeing completely.
2. Adjust the Flavor
- Taste Test: Sample the mixture to check for sweetness and flavor intensity.
- Adjust Sweetness: Add more sweetener if desired and blend again. Remember that freezing can dull sweetness, so the mixture should taste slightly sweeter than you prefer when frozen.
- Enhance Flavors: If desired, add fresh herbs like mint or basil, and blend until finely chopped and well incorporated.
3. Add Optional Mix-ins
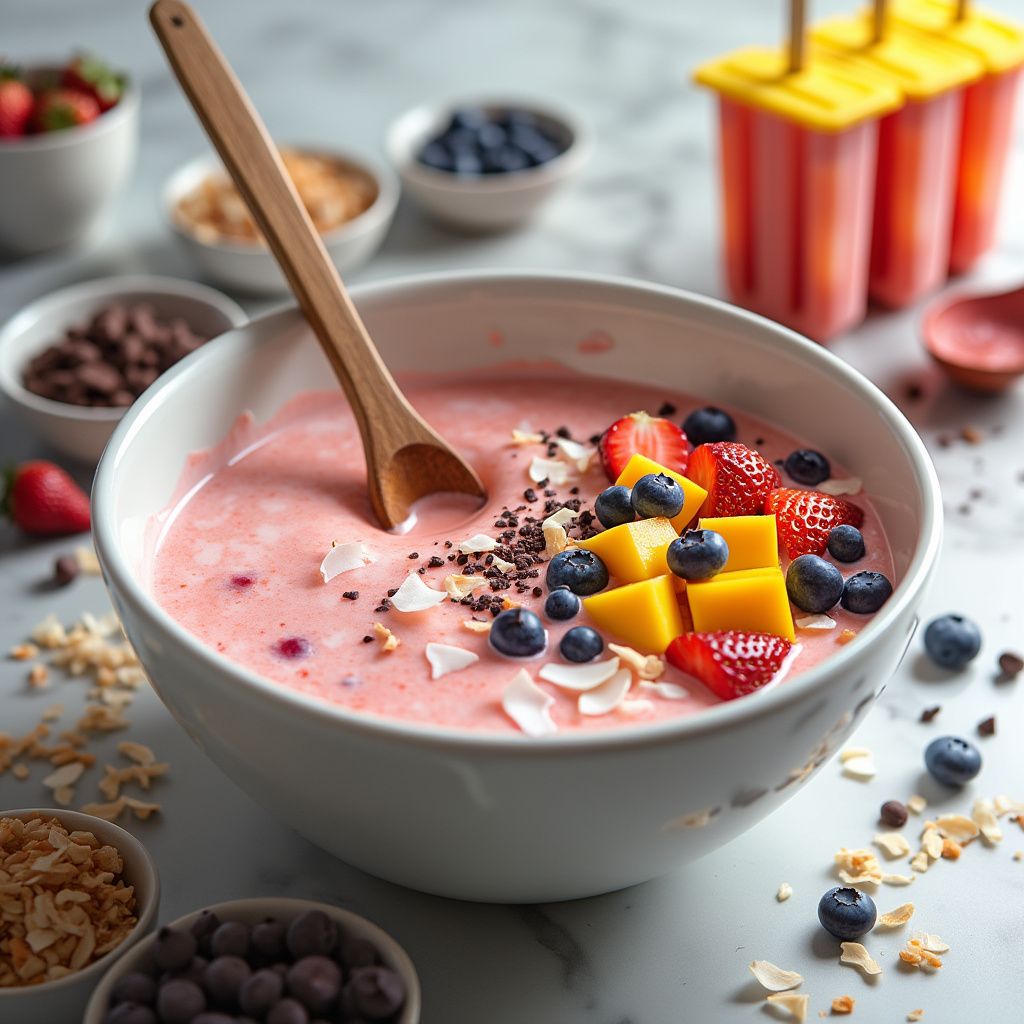
- Stir in Extras: If you want texture in your popsicles, stir in chopped fresh fruit pieces, coconut flakes, or chocolate chips into the blended mixture.
- Distribute Evenly: Ensure the add-ins are evenly distributed throughout the mixture for consistent flavor in each popsicle.
4. Fill the Popsicle Molds
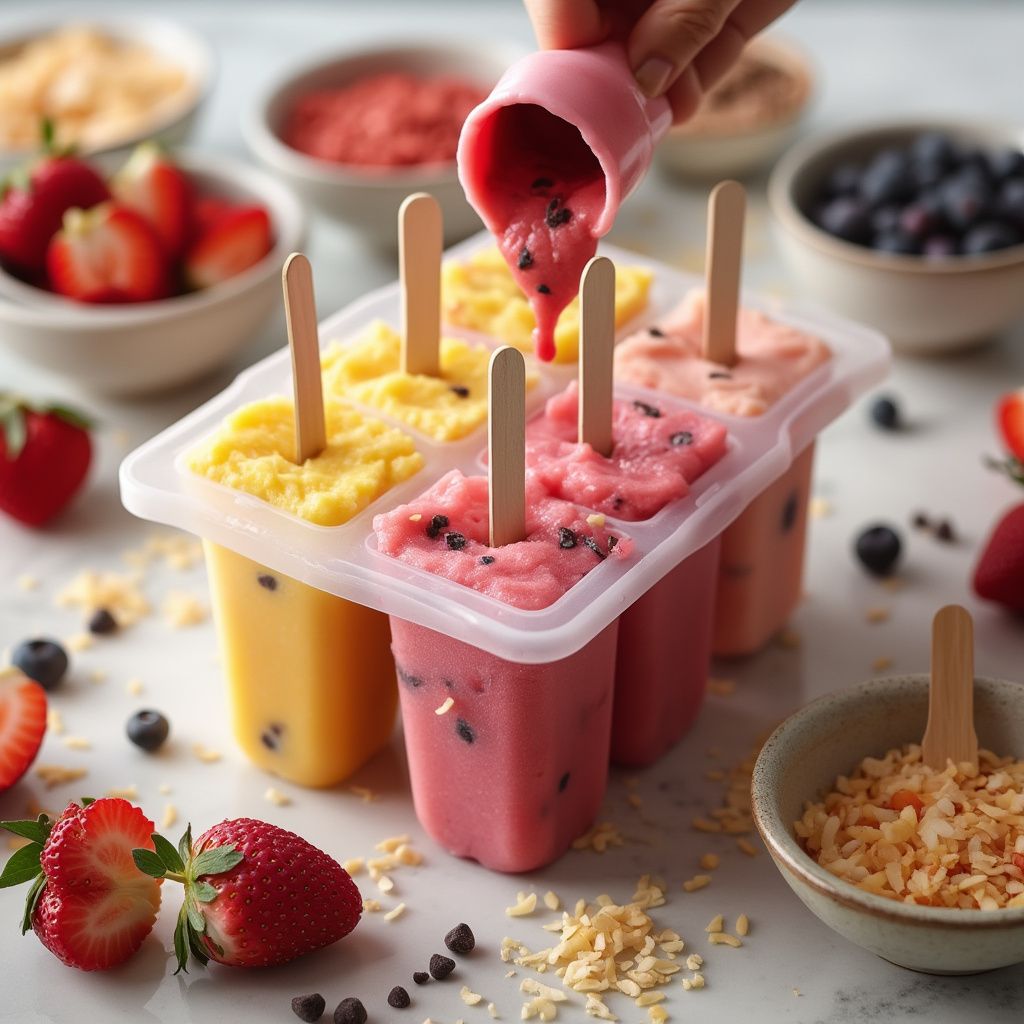
- Pour Mixture: Carefully pour the prepared mixture into your popsicle molds, leaving a small space at the top to allow for expansion as they freeze.
- Insert Sticks: Place the popsicle sticks into the molds. If your molds don’t have built-in sticks or holders, you can wait until the popsicles are partially frozen (about 1-2 hours) before inserting wooden sticks so they stay upright.
- Tap Out Air Bubbles: Gently tap the molds on the countertop to release any air bubbles.
5. Freeze
- Freeze Completely: Place the molds in the freezer and allow the popsicles to freeze solid, which typically takes at least 4-6 hours or overnight for the best results.
6. Unmold and Serve
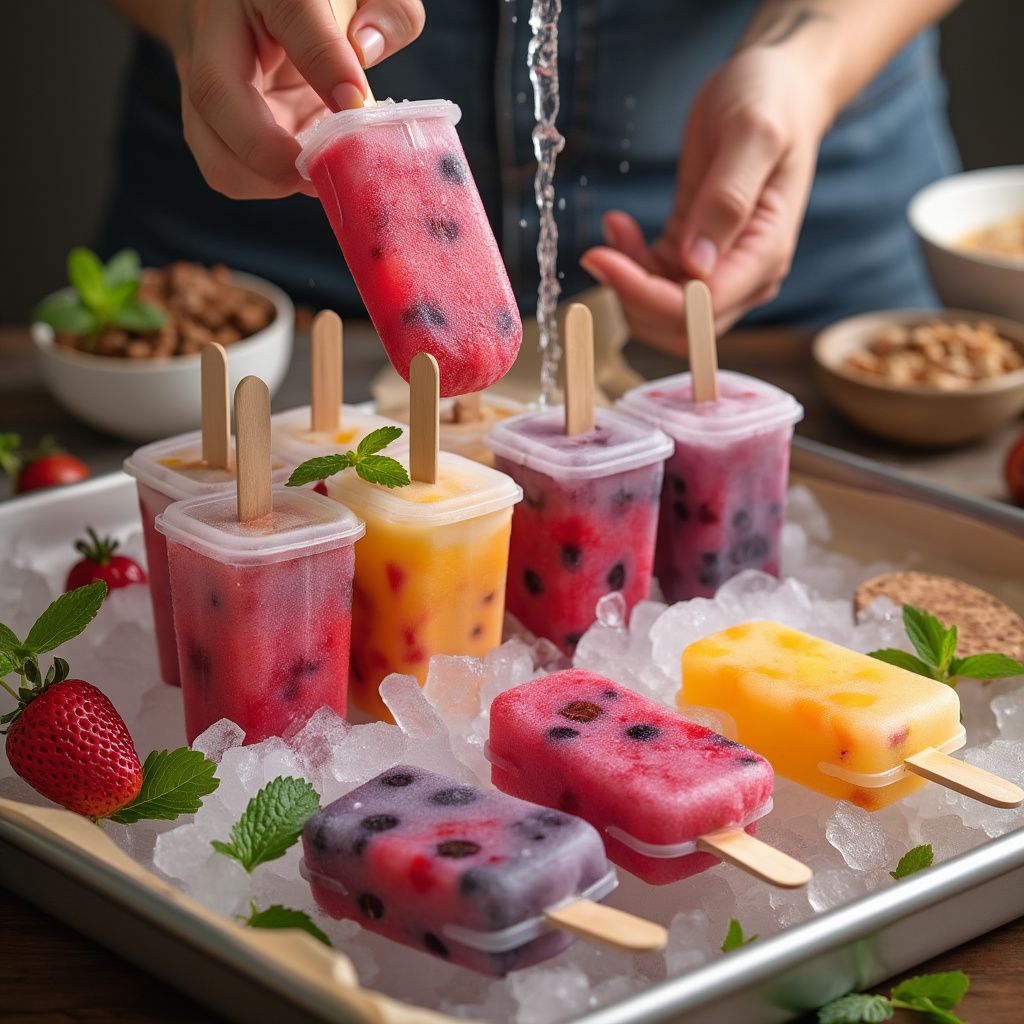
- Remove Popsicles: To unmold, run warm water over the outside of the molds for a few seconds to loosen the popsicles.
- Gently Extract: Carefully pull the popsicles out of the molds.
- Serve Immediately: Enjoy your homemade popsicles right away or store them individually wrapped in the freezer for later.
Tips for Success
- Mold Alternatives: If you don’t have popsicle molds, use small paper cups or ice cube trays with popsicle sticks or toothpicks.
- Layered Popsicles: For a layered effect, fill the molds with different fruit purees in stages, freezing each layer for about an hour before adding the next.
- Creamy Popsicles: Substitute part of the liquid base with yogurt, coconut milk, or cream for a creamier texture.
- Dietary Needs: Adjust ingredients to accommodate dietary restrictions, such as using plant-based milk for dairy-free popsicles or natural sweeteners for reduced sugar content.
- Alcoholic Popsicles (Adults Only): For a grown-up version, add a small amount of spirits like vodka, rum, or wine. Keep in mind that alcohol doesn’t freeze solid, so use sparingly.
- Storage: To prevent freezer burn, wrap each popsicle in plastic wrap or store them in airtight containers if keeping them for an extended period.
- Experiment with Flavors: Don’t be afraid to mix and match fruits, juices, and add-ins to create unique flavor combinations like strawberry basil, mango chili, or blueberry lemonade.
Conclusion
By mastering homemade popsicles, you’re embracing a delightful way to beat the heat and indulge in your favorite flavors. This versatile treat allows endless creativity, making it perfect for involving kids in the kitchen or catering to guests at a summer gathering. Share these refreshing popsicles with family and friends, and enjoy the smiles and satisfaction they bring to your culinary experience. Cheers to your cool creations!

