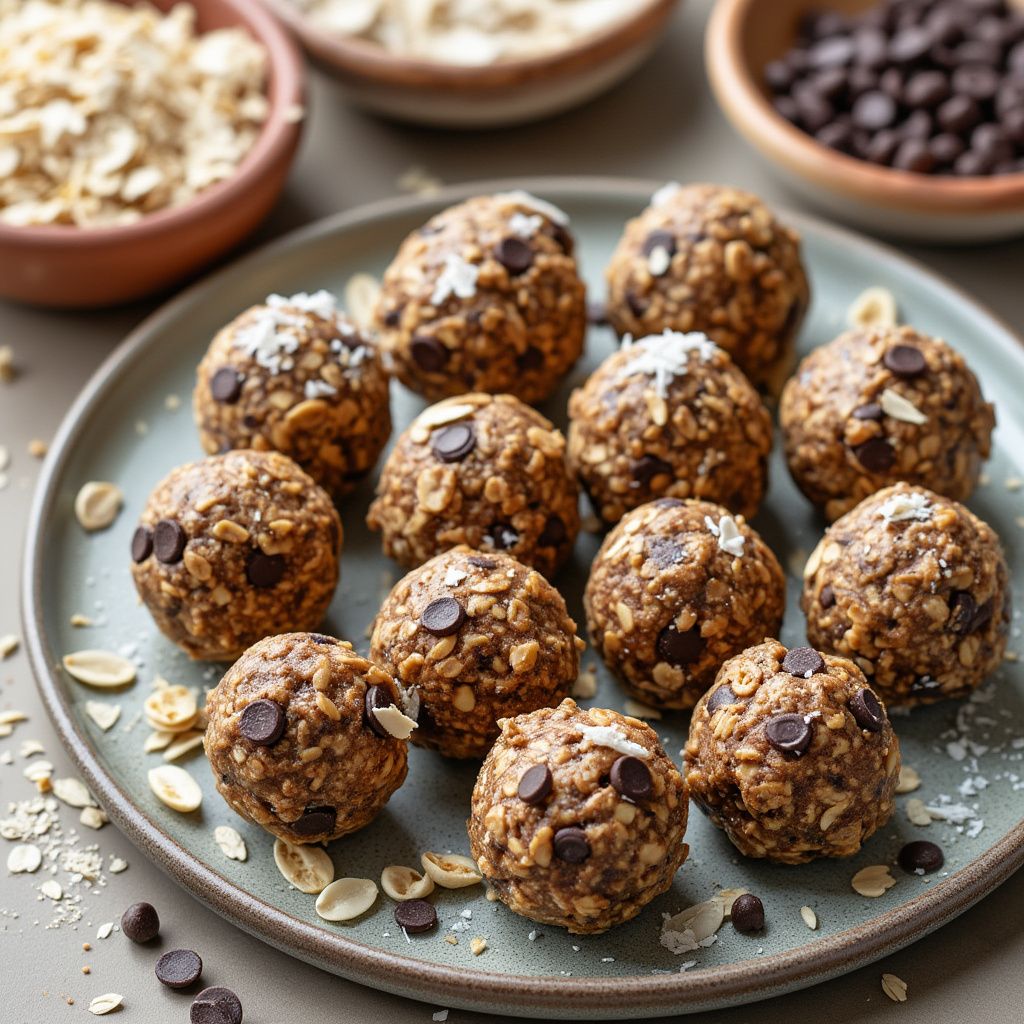
If you’re looking to add a nutritious and convenient snack to your culinary repertoire, No-Bake Energy Balls are the perfect choice. Packed with wholesome ingredients like oats, nuts, and dried fruits, these bite-sized treats provide a natural energy boost ideal for busy days, post-workout fuel, or satisfying sweet cravings. Let me guide you through crafting these delicious and customizable snacks in your own kitchen.
Ingredients
Basic Recipe (Makes about 20 energy balls):
- 1 ½ cups old-fashioned rolled oats
- ½ cup nut butter (peanut butter, almond butter, or cashew butter)
- ⅓ cup honey or pure maple syrup
- ½ cup ground flaxseed or chia seeds
- ½ cup add-ins (choose from chocolate chips, dried cranberries, raisins, shredded coconut, or chopped nuts)
- 1 teaspoon vanilla extract
- Pinch of salt
Instructions
1. Combine Dry Ingredients
- Mix Dry Ingredients: In a large mixing bowl, combine the rolled oats, ground flaxseed (or chia seeds), and a pinch of salt. Stir to evenly distribute the ingredients.
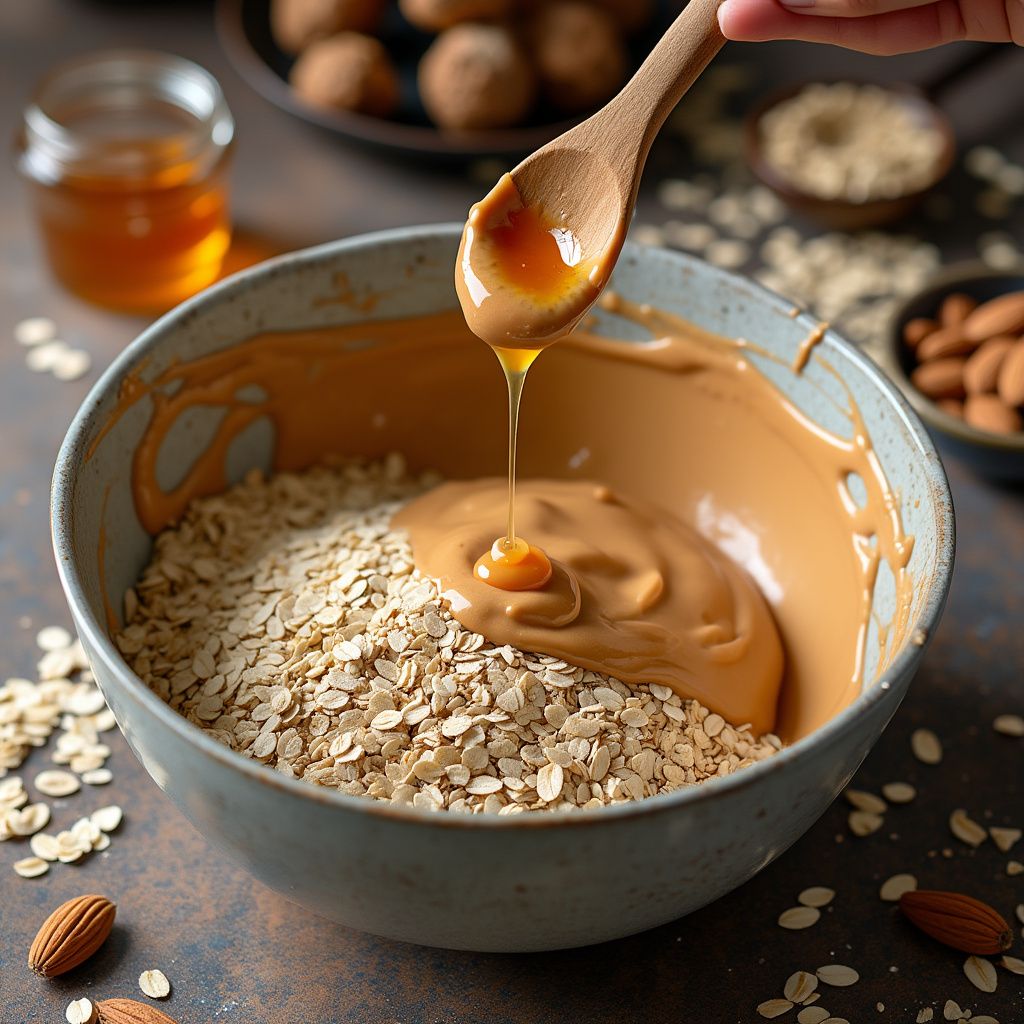
- Add Nut Butter and Sweetener: Pour in the nut butter and honey (or maple syrup).
- Add Vanilla Extract: Stir in the vanilla extract for added flavor.
- Mix Thoroughly: Use a wooden spoon or spatula to mix the ingredients until they are well combined. The mixture should be sticky and hold together when pressed.

2. Incorporate Add-Ins
- Choose Your Add-Ins: Select your preferred add-ins such as chocolate chips, dried fruits, shredded coconut, or chopped nuts.
- Mix In: Fold the add-ins into the mixture, ensuring they are evenly distributed.
3. Chill the Mixture
- Refrigerate: Cover the bowl with plastic wrap or a lid and place it in the refrigerator for about 20-30 minutes. Chilling makes the mixture easier to handle when forming balls.
4. Form the Energy Balls
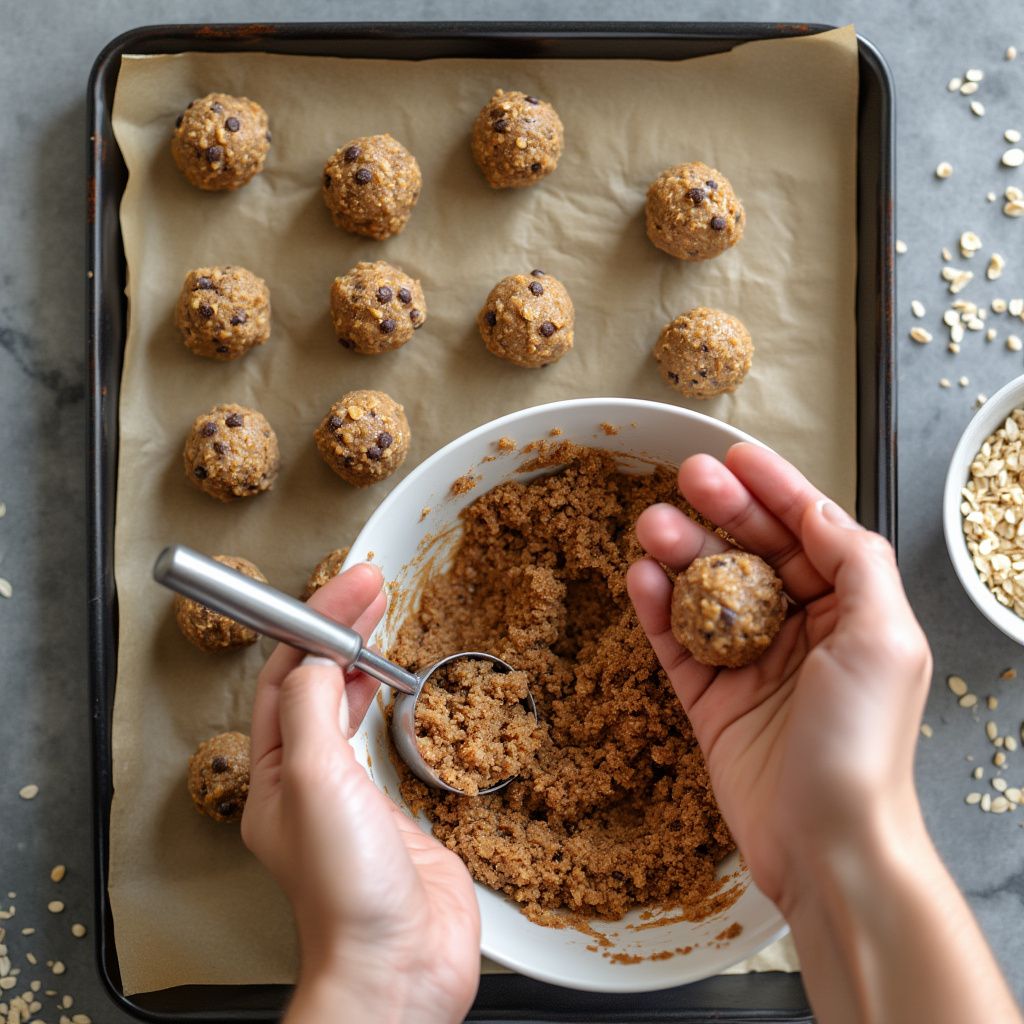
- Prepare for Rolling: Line a baking sheet or container with parchment paper for easy storage.
- Scoop and Roll: Using a tablespoon or small cookie scoop, portion out the mixture. Roll each portion between your palms to form a compact ball.
- Place on Sheet: Arrange the energy balls on the prepared baking sheet or container.

5. Store
- Refrigerate or Freeze: Place the energy balls in an airtight container. Store them in the refrigerator for up to 2 weeks or freeze for up to 3 months.
- Enjoy: Grab a no-bake energy ball whenever you need a quick and healthy snack!

Tips for Success
- Adjust Consistency: If the mixture is too dry and crumbly, add a bit more nut butter or honey. If it’s too sticky, incorporate a few more oats or flaxseed.
- Customize Flavors: Experiment with different combinations of nut butters and add-ins to create a variety of flavors. Consider almond butter with dried cherries or peanut butter with dark chocolate chips.
- Gluten-Free Option: Use certified gluten-free oats if you have gluten sensitivities.
- Nut-Free Version: Substitute nut butter with sunflower seed butter or soy nut butter, and omit any nut-based add-ins for an allergy-friendly snack.
- Protein Boost: Add a scoop of your favorite protein powder to increase the protein content, adjusting wet ingredients as needed for proper consistency.
- Portion Control: Use a cookie scoop to ensure uniform size and even portioning.
- Clean Hands: Lightly wet or oil your hands when rolling to prevent the mixture from sticking.
- Batch Preparation: Double the recipe and freeze extras for convenient access to healthy snacks.
Conclusion
By mastering No-Bake Energy Balls, you’re embracing a snack that’s not only delicious but also packed with nutrients to keep you energized throughout the day. This simple recipe is highly adaptable, allowing you to tailor it to your taste preferences and dietary needs. Share these wholesome treats with family and friends, and enjoy the convenience and satisfaction they bring to your snacking routine. Happy snacking!

