Cooking is more than just preparing meals—it’s a valuable life skill that fosters independence, creativity, and healthy eating habits in children. For 12 year-olds, stepping into the kitchen can be an exciting adventure that not only sparks their love for cooking but also teaches them essential skills they’ll carry into adulthood. Whether your child is a budding young chef or just starting to explore the culinary world, having a collection of easy recipes for 12 year-olds to cook can make the experience both fun and rewarding.
In this blog post, we’ve curated 10 easy and fun recipes that are perfect for 12 year-olds looking to whip up delicious and simple dishes. These kid-friendly recipes are designed to be straightforward, requiring minimal supervision while ensuring safety and promoting confidence in the kitchen. From healthy breakfasts to tasty snacks, satisfying lunches, hearty dinners, and delightful desserts, each recipe is crafted to engage young cooks and encourage their culinary creativity.
By involving your 12 year-old in meal preparation, you’re not only providing them with the tools to create nutritious and tasty meals but also fostering a sense of responsibility and accomplishment. These simple dishes are perfect for building cooking skills, enhancing math skills through measuring ingredients, and encouraging teamwork when cooking together. Whether they’re preparing a quick breakfast smoothie or assembling their own mini pizzas, these recipes offer a perfect blend of simplicity and enjoyment.
Join us as we explore these fun and simple ideas that will inspire your child to take charge in the kitchen, enjoy the process of cooking, and develop a lifelong appreciation for homemade meals. Let’s dive into these easy recipes that make cooking an enjoyable and educational experience for 12 year-olds!
1.Breakfast Recipes
Start the day right with these simple and nutritious breakfast options that 12 year-olds can easily prepare. These easy breakfast ideas not only provide essential nutrients to fuel the day but also make cooking a fun and engaging activity for young chefs. From refreshing smoothies to interactive pancake skewers and wholesome egg muffins, these recipes are designed to be straightforward, safe, and enjoyable.
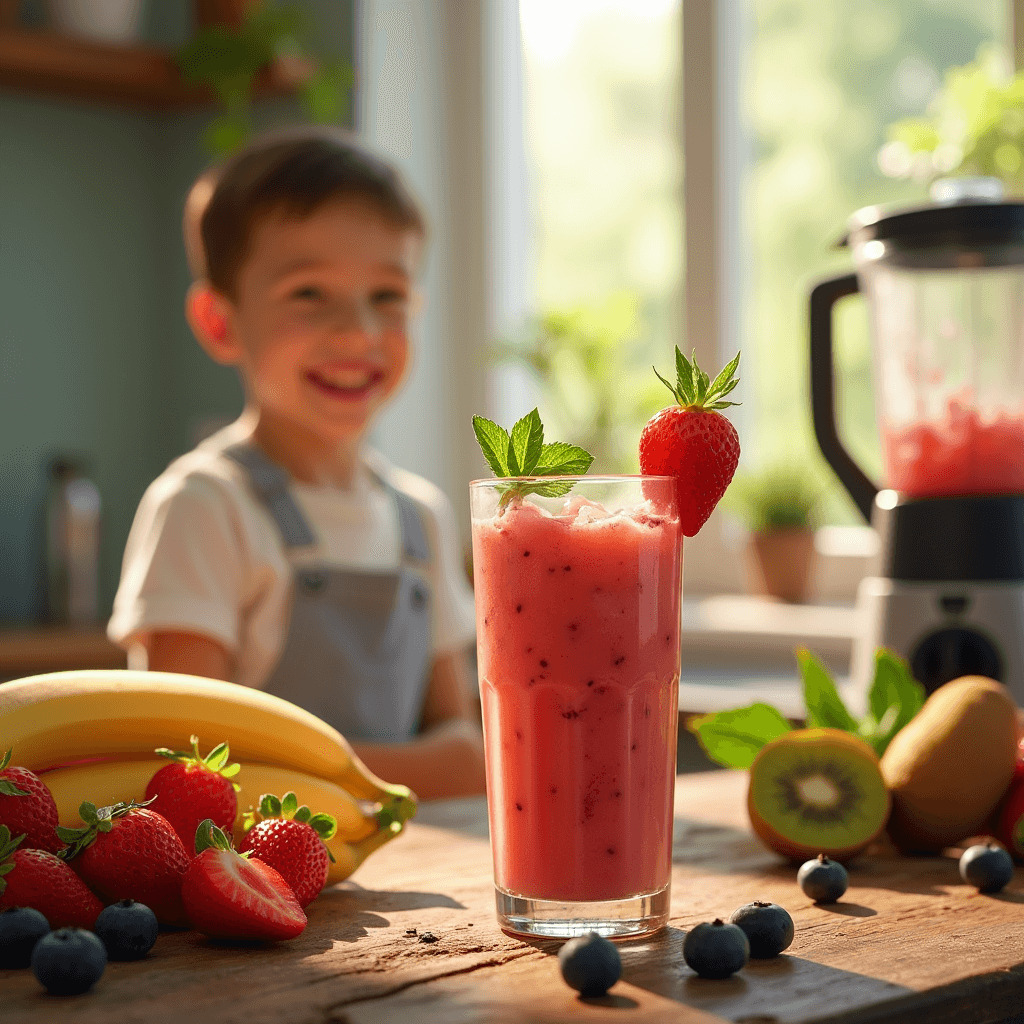
A. Fruit Smoothies
Description:
Fruit smoothies are a quick and healthy way to boost energy in the morning. They are versatile, allowing 12 year-olds to experiment with different fruit combinations and enjoy a tasty beverage packed with vitamins and minerals.
Key Ingredients:
- 1 banana
- 1 cup strawberries (fresh or frozen)
- 1/2 cup yogurt (vanilla or plain)
- 1/2 cup milk (dairy or plant-based)
- 1 tablespoon honey (optional)
- Ice cubes (optional)
Instructions:
- Prepare the Ingredients:
Wash the strawberries thoroughly. If using fresh strawberries, remove the stems. Peel the banana and break it into smaller pieces for easier blending. - Combine Ingredients:
In a blender, add the banana, strawberries, yogurt, milk, and honey. If you prefer a colder smoothie, add a few ice cubes. - Blend Until Smooth:
Secure the blender lid and blend on high speed until all ingredients are well combined and the smoothie reaches a creamy consistency. - Serve Immediately:
Pour the smoothie into a glass and enjoy immediately for the best flavor and texture.
Safety Tips:
- Ensure the blender lid is securely fastened before blending to prevent spills.
- Use kid-safe knives or peelers if preparing fresh fruits.
Nutritional Benefits:
- Bananas provide potassium and energy.
- Strawberries are rich in vitamin C and antioxidants.
- Yogurt adds protein and calcium for strong bones.
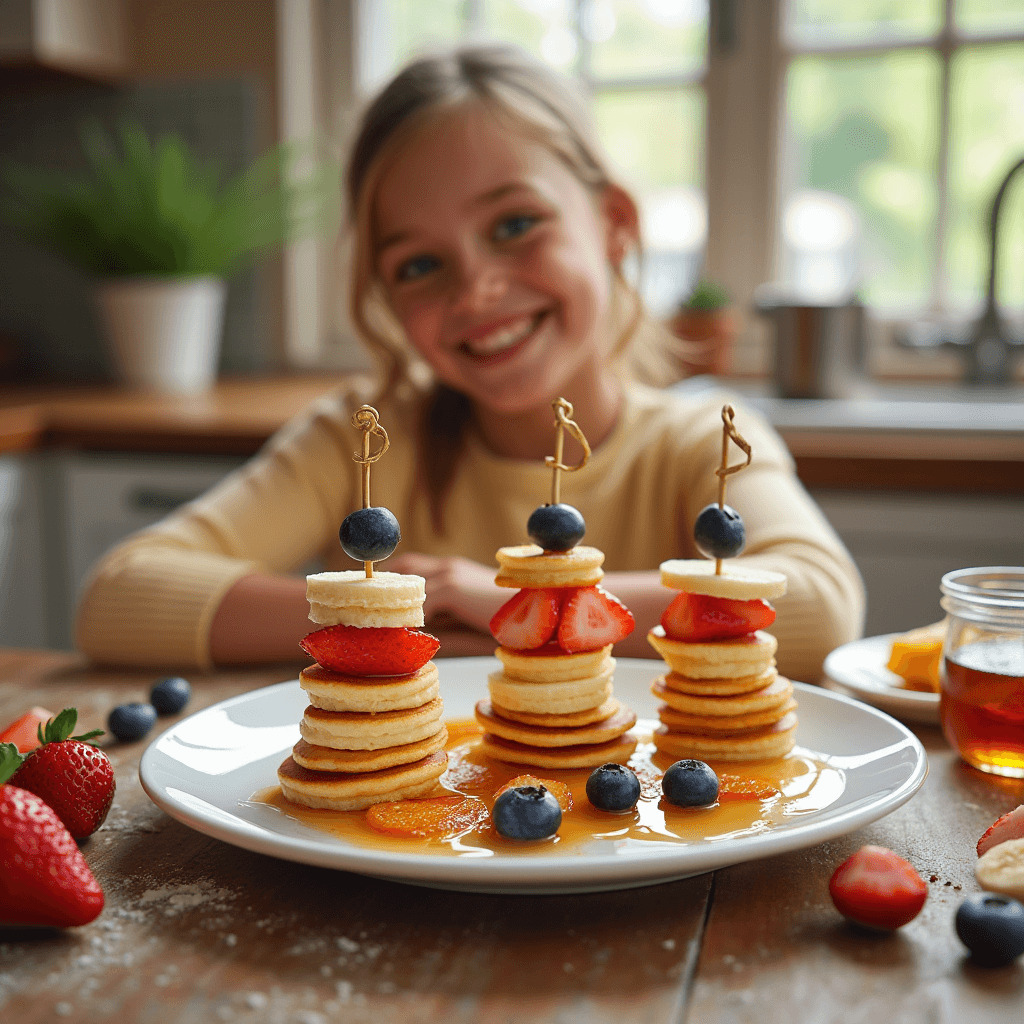
B. Mini Pancake Skewers
Description:
Mini Pancake Skewers are a fun and interactive way for 12 year-olds to enjoy breakfast. Assembling the pancakes on skewers not only makes the meal visually appealing but also encourages creativity in choosing different fruits and toppings.
Key Ingredients:
- 10 mini pancakes (store-bought or homemade)
- 1 cup fresh fruits (such as blueberries, sliced bananas, and strawberries)
- 1/4 cup maple syrup or chocolate syrup
- 10 small skewers or toothpicks
Instructions:
- Prepare the Skewers:
Lay out the mini pancakes and fresh fruits on a clean surface. - Assemble the Skewers:
Thread one mini pancake onto each skewer, followed by a piece of fruit. Continue layering until each skewer has a balanced mix of pancakes and fruits. - Add Toppings:
Drizzle maple syrup or chocolate syrup over the assembled skewers for added sweetness and flavor. - Serve and Enjoy:
Arrange the skewers on a plate and serve immediately for a delightful and tasty breakfast treat.
Safety Tips:
- Use child-friendly skewers or toothpicks to prevent accidental pokes.
- Supervise the use of syrups to avoid spills and sticky hands.
Nutritional Benefits:
- Fruits add essential vitamins and fiber.
- Pancakes provide carbohydrates for sustained energy.
C. Scrambled Egg Muffins
Description:
Scrambled Egg Muffins are an easy-to-make breakfast option packed with veggies and protein. These portable muffins are perfect for busy mornings and can be customized with your child’s favorite ingredients.

Key Ingredients:
- 4 large eggs
- 1/4 cup shredded cheese (cheddar or mozzarella)
- 1/4 cup diced bell peppers
- 1/4 cup spinach, chopped
- Salt and pepper to taste
- Non-stick cooking spray or muffin liners
Instructions:
- Preheat the Oven:
Preheat your oven to 375°F (190°C). Grease a muffin tin with non-stick cooking spray or line it with muffin liners. - Prepare the Egg Mixture:
In a mixing bowl, crack the eggs and whisk them until well beaten. Add the shredded cheese, diced bell peppers, chopped spinach, salt, and pepper. Mix thoroughly to combine all ingredients. - Fill the Muffin Tin:
Pour the egg mixture evenly into the prepared muffin tin, filling each cup about three-quarters full. - Bake the Muffins:
Place the muffin tin in the preheated oven and bake for 15-20 minutes, or until the egg muffins are set and slightly golden on top. - Cool and Serve:
Allow the muffins to cool for a few minutes before removing them from the tin. Serve warm or store in the refrigerator for a quick breakfast option later in the week.
Safety Tips:
- Handle the oven with care and use oven mitts to prevent burns.
- Ensure eggs are cooked thoroughly to avoid any risk of salmonella.
Nutritional Benefits:
- Eggs are an excellent source of protein and essential amino acids.
- Vegetables like bell peppers and spinach provide vitamins A and C, as well as iron.
Tips for Successful Breakfast Cooking with 12 Year-Olds
- Encourage Creativity:
Allow your child to choose their favorite fruits and toppings for smoothies and pancake skewers. This fosters a sense of ownership and excitement about cooking. - Teach Measuring Skills:
Use these recipes as an opportunity to practice math skills by measuring ingredients accurately. - Emphasize Safety:
Reinforce kitchen safety rules, such as handling knives properly, using oven mitts, and keeping the workspace clean. - Celebrate Achievements:
Praise your child’s efforts and enjoy the meals together as a family, reinforcing the joy of cooking and eating healthy foods.
By incorporating these easy breakfast recipes into your morning routine, you’re not only providing your 12 year-old with delicious meals but also nurturing essential life skills that will benefit them for years to come. Let these recipes inspire your young chef to explore the world of cooking with confidence and enthusiasm!
2.Snack Recipes
Provide healthy and tasty snacks that 12 year-olds can prepare themselves, perfect for school or after activities. These easy snack ideas not only satisfy hunger but also promote nutritious eating habits. From no-bake cookies to crunchy veggie sticks and delightful yogurt parfaits, these recipes are designed to be simple, safe, and enjoyable for young chefs.
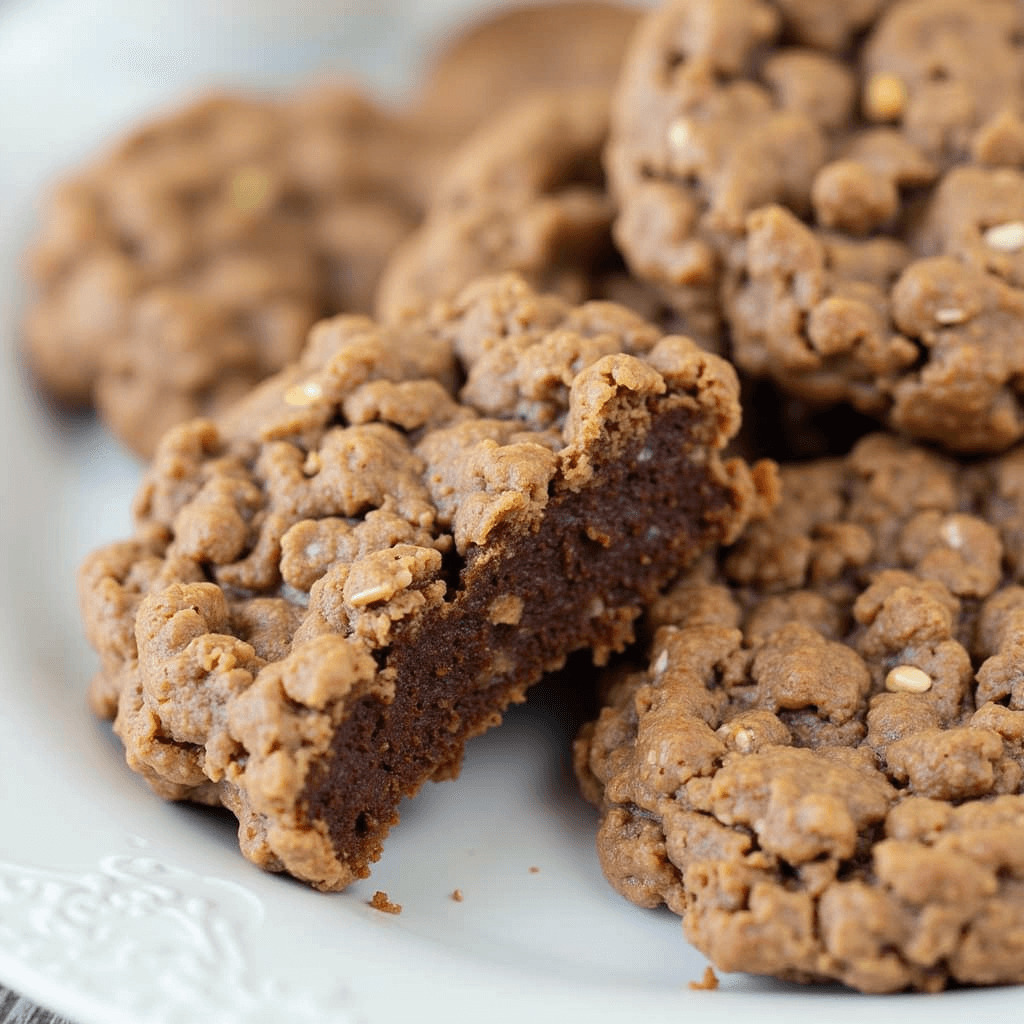
A. No-Bake Chocolate Oatmeal Cookies
Description:
No-Bake Chocolate Oatmeal Cookies are simple and delicious treats that require no oven time. Perfect for satisfying sweet cravings, these cookies combine wholesome ingredients like oats and peanut butter with rich chocolate for a delightful snack.
Key Ingredients:
- 2 cups rolled oats
- 1/2 cup peanut butter
- 1/2 cup honey or maple syrup
- 1/4 cup cocoa powder
- 1 teaspoon vanilla extract
- Pinch of salt
- 1/4 cup chocolate chips (optional)
Instructions:
- Prepare the Mixture:
In a large mixing bowl, combine the peanut butter, honey (or maple syrup), cocoa powder, vanilla extract, and a pinch of salt. Stir until the mixture is smooth and well blended. - Add the Oats:
Gradually add the rolled oats to the mixture, stirring continuously to ensure the oats are evenly coated. If using chocolate chips, fold them in at this stage. - Shape the Cookies:
Using a spoon or your hands, scoop out small portions of the mixture and shape them into cookies. Place the shaped cookies onto a parchment-lined baking sheet. - Chill the Cookies:
Refrigerate the cookies for at least 30 minutes to allow them to set and firm up. - Serve and Enjoy:
Once chilled, remove the cookies from the refrigerator and enjoy immediately. Store any leftovers in an airtight container in the refrigerator for up to a week.
Safety Tips:
- Handle Ingredients Carefully: Ensure all ingredients are measured accurately to maintain the right consistency.
- Avoid Cross-Contamination: If using nut-based peanut butter, be cautious if anyone has nut allergies.
- Use Safe Utensils: Use child-safe utensils for mixing and shaping the cookies to prevent accidents.
Nutritional Benefits:
- Oats provide fiber and sustained energy.
- Peanut Butter adds protein and healthy fats.
- Cocoa Powder offers antioxidants and a rich chocolate flavor.
- Honey serves as a natural sweetener with additional nutrients.
B. Veggie Sticks with Hummus
Description:
Veggie Sticks with Hummus is a crunchy and creamy snack that combines fresh vegetables with a tasty dip. This snack is not only nutritious but also encourages 12 year-olds to incorporate more vegetables into their diet in a fun and engaging way.

Key Ingredients:
- 2 large carrots, peeled and cut into sticks
- 1 cucumber, sliced into sticks
- 1 bell pepper (any color), cut into strips
- 1 cup hummus (store-bought or homemade)
- Optional: Cherry tomatoes, celery sticks, or snap peas for variety
Instructions:
- Prepare the Vegetables:
Wash and peel the carrots. Cut the carrots, cucumber, and bell pepper into uniform sticks or strips for easy dipping. - Arrange the Veggie Sticks:
Place the prepared vegetable sticks neatly on a plate or in a serving bowl. You can also add other vegetables like cherry tomatoes, celery sticks, or snap peas for added color and variety. - Serve with Hummus:
Scoop the hummus into a small bowl and place it in the center of the vegetable arrangement. This makes it easy for dipping. - Enjoy:
Serve immediately as a refreshing and healthy snack. Store any leftovers in the refrigerator for up to three days.
Safety Tips:
- Use Kid-Safe Knives: Ensure that any cutting is done under adult supervision or use child-safe knives to prevent injuries.
- Wash Vegetables Thoroughly: Clean all vegetables thoroughly to remove any dirt or pesticides.
- Handle Hummus Safely: Keep hummus refrigerated until serving to prevent spoilage.
Nutritional Benefits:
- Carrots are rich in beta-carotene and fiber.
- Cucumbers provide hydration and essential vitamins.
- Bell Peppers offer a high dose of vitamin C and antioxidants.
- Hummus adds protein and healthy fats, making the snack balanced and satisfying.
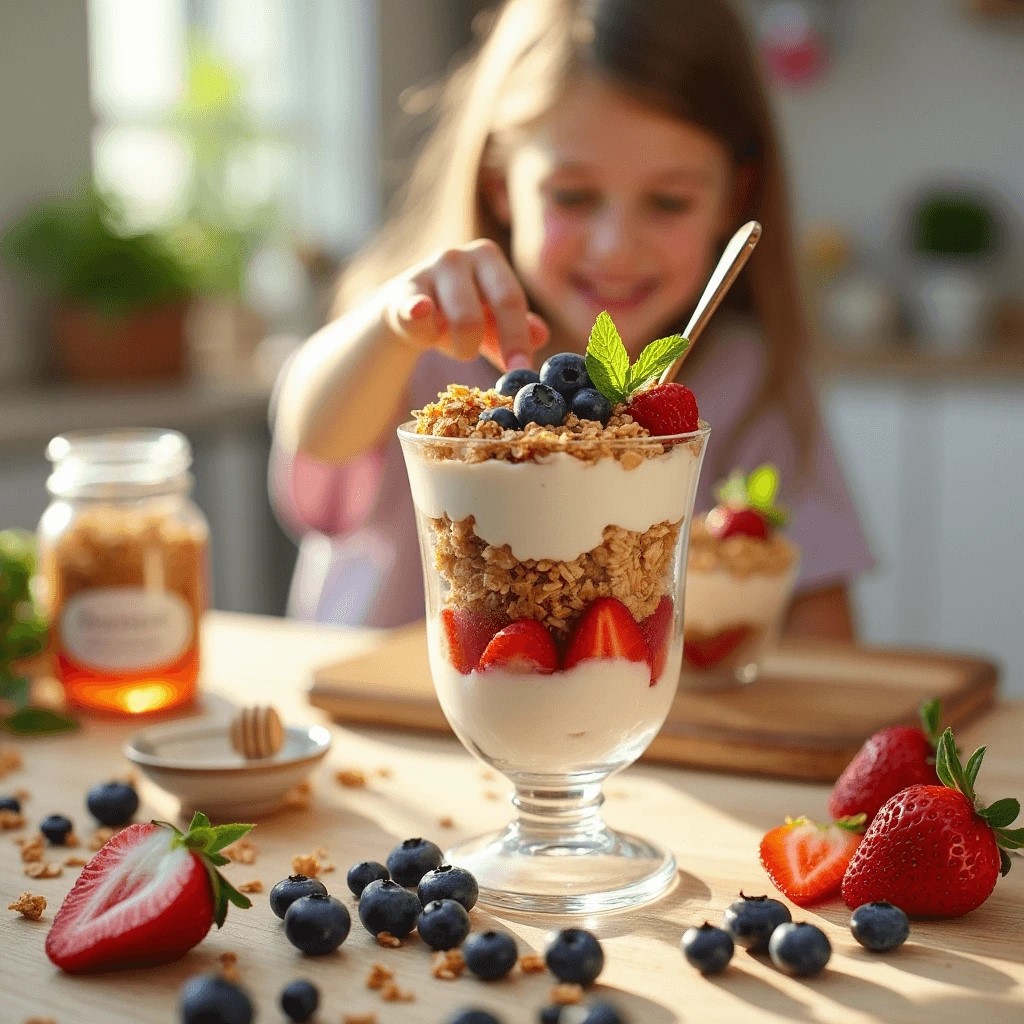
C. Yogurt Parfaits
Description:
Yogurt Parfaits are layered treats that combine creamy yogurt with fresh fruits and crunchy granola. These parfaits are not only visually appealing but also offer a balanced mix of protein, vitamins, and fiber, making them an excellent snack option for 12 year-olds.
Key Ingredients:
- 2 cups yogurt (Greek or regular, vanilla or plain)
- 1 cup granola
- 1 cup mixed berries (strawberries, blueberries, raspberries)
- 2 tablespoons honey or maple syrup (optional)
- Optional toppings: Chia seeds, shredded coconut, or nuts
Instructions:
- Prepare the Ingredients:
Wash the mixed berries thoroughly. If using strawberries, hull and slice them into smaller pieces. - Layer the Parfaits:
In clear glasses or parfait cups, start by adding a layer of yogurt at the bottom. Follow with a layer of granola and then a layer of mixed berries. - Repeat the Layers:
Continue layering yogurt, granola, and berries until the glasses are filled to your desired level. Typically, two to three layers per parfait work well. - Add Toppings:
Drizzle honey or maple syrup over the top of each parfait for added sweetness. You can also sprinkle optional toppings like chia seeds, shredded coconut, or nuts for extra flavor and texture. - Serve Immediately:
Enjoy the parfaits right away to maintain the crunchiness of the granola. Alternatively, you can refrigerate them for up to an hour before serving.
Safety Tips:
- Choking Hazards: Ensure that any nuts or seeds used as toppings are chopped finely to prevent choking.
- Allergy Awareness: Be mindful of any nut allergies when adding nuts as optional toppings.
- Proper Storage: Store any unused parfait ingredients separately to keep them fresh and prevent sogginess.
Nutritional Benefits:
- Yogurt provides protein and probiotics for gut health.
- Mixed Berries are loaded with antioxidants and vitamins.
- Granola adds fiber and healthy carbohydrates for sustained energy.
- Optional Toppings like chia seeds and nuts offer additional nutrients and healthy fats.
Tips for Successful Snack Preparation with 12 Year-Olds
- Encourage Creativity:
Let your child customize their snacks by choosing different fruits, dips, and toppings. This not only makes the snacks more enjoyable but also allows them to experiment with flavors and textures. - Teach Portion Control:
Use measuring cups and spoons to help your child understand appropriate portion sizes, promoting healthy eating habits. - Emphasize Cleanliness:
Teach your child the importance of washing hands and cleaning surfaces before and after preparing snacks to maintain hygiene. - Promote Independence:
Allow your 12 year-old to take the lead in preparing these snacks with minimal supervision. This builds confidence and reinforces their ability to follow instructions. - Discuss Nutrition:
Use snack preparation as an opportunity to talk about the nutritional benefits of different ingredients, helping your child make informed food choices.
By incorporating these healthy and easy snack recipes into your child’s routine, you’re providing them with delicious options that are both satisfying and nourishing. These snacks are perfect for keeping energy levels up during school hours or after engaging in activities, all while nurturing a love for cooking and healthy eating in your 12 year-old!
3.Lunch Recipes
Focus on lunch ideas that are easy to assemble, promoting independence and creativity in the kitchen. These kid-friendly lunch recipes are designed to be simple, nutritious, and enjoyable for 12 year-olds to prepare on their own or with minimal supervision. From personal-sized pizzas to versatile quesadillas and classic sandwiches, these recipes encourage young chefs to explore their culinary skills while enjoying delicious and healthy meals.
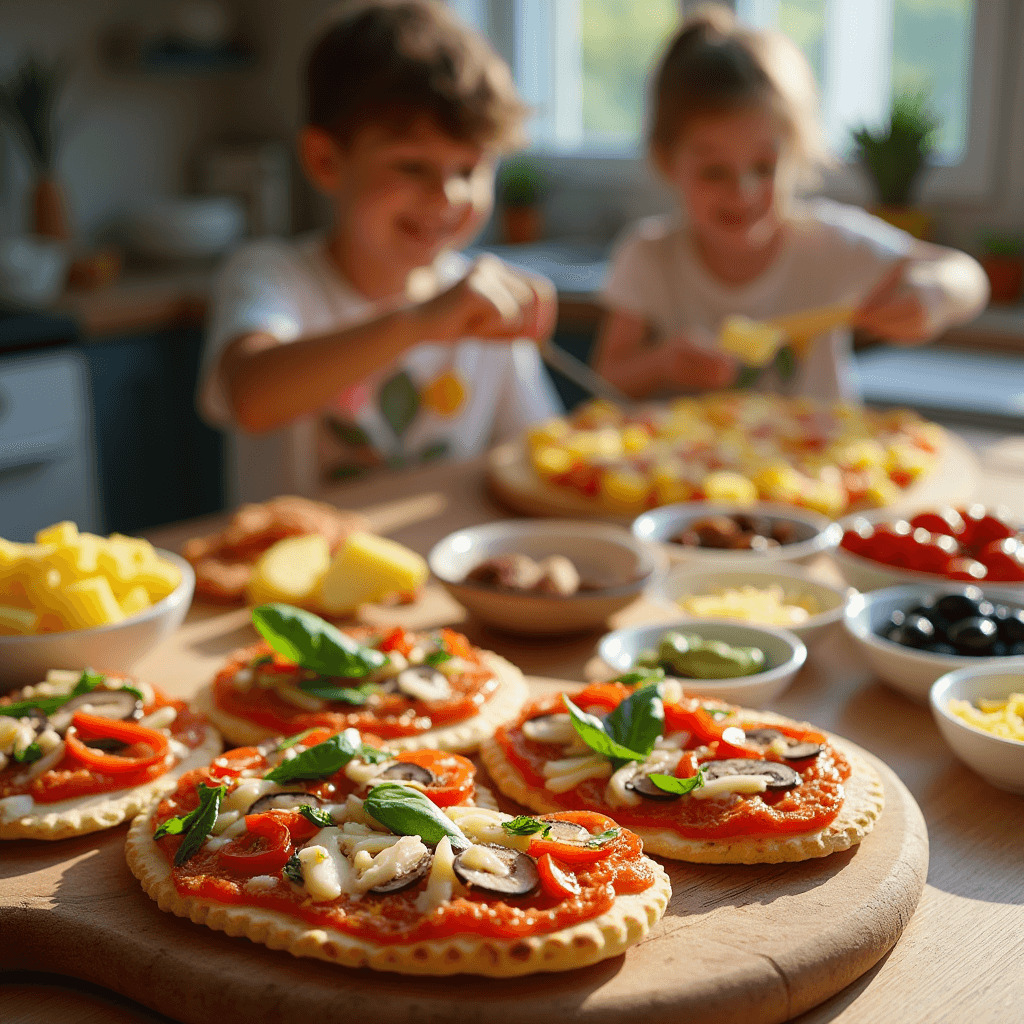
A. Mini Pita Pizzas
Description:
Mini Pita Pizzas are personal-sized pizzas made on pita bread with various toppings. They are a fun and interactive way for 12 year-olds to customize their own pizzas, allowing creativity in choosing favorite toppings and experimenting with flavors.
Key Ingredients:
- 4 pita breads
- 1 cup tomato sauce (pizza sauce or marinara)
- 1 1/2 cups shredded mozzarella cheese
- Assorted toppings: pepperoni slices, sliced bell peppers, olives, mushrooms, onions, pineapple chunks, etc.
Instructions:
- Preheat the Oven:
Preheat your oven to 375°F (190°C). If using a toaster oven, adjust the temperature accordingly. - Prepare the Pita Bases:
Place the pita breads on a baking sheet lined with parchment paper or lightly greased. - Spread the Sauce:
Using a spoon, spread a generous amount of tomato sauce over each pita bread, leaving a small border around the edges. - Add the Cheese:
Sprinkle shredded mozzarella cheese evenly over the sauce on each pita. - Customize with Toppings:
Allow your 12 year-old to choose and arrange their preferred toppings on top of the cheese. Encourage them to get creative with combinations. - Bake the Pizzas:
Place the baking sheet in the preheated oven and bake for 10-15 minutes, or until the cheese is melted and bubbly, and the edges of the pita are slightly crispy. - Serve and Enjoy:
Remove the mini pita pizzas from the oven and let them cool for a few minutes before slicing. Serve warm and enjoy!
Safety Tips:
- Oven Safety: Ensure the oven is preheated and supervised during baking. Use oven mitts to handle hot baking sheets.
- Cutting Hot Pizzas: Allow pizzas to cool slightly before cutting to prevent burns.
- Knife Safety: If slicing toppings like bell peppers or mushrooms, use child-safe knives or have an adult assist.
Nutritional Benefits:
- Whole Wheat Pita: Provides fiber and sustained energy.
- Tomato Sauce: Rich in vitamins A and C, as well as antioxidants.
- Mozzarella Cheese: Offers calcium and protein for strong bones and muscles.
- Vegetable Toppings: Add essential vitamins, minerals, and fiber to the meal.
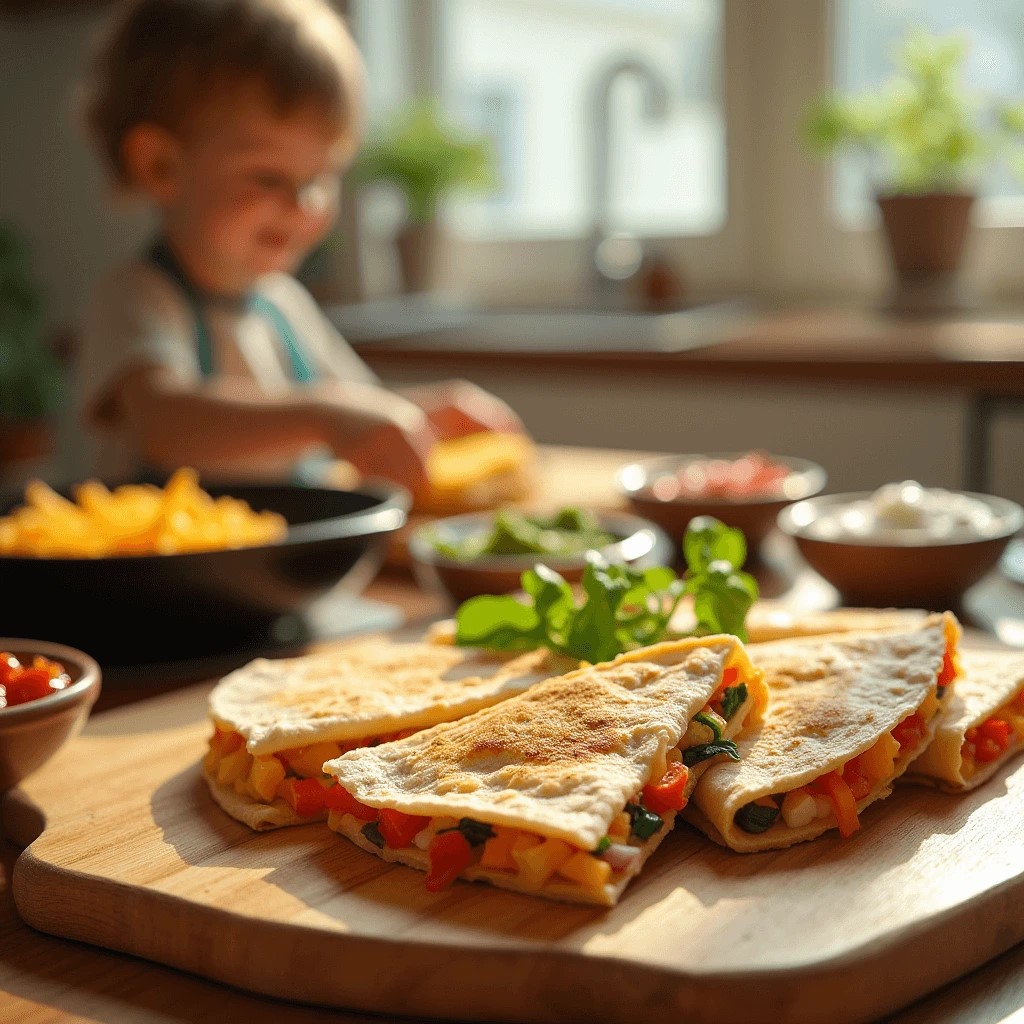
B. Quesadillas with Cheese and Veggies
Description:
Quesadillas with Cheese and Veggies are easy cheese quesadillas with optional vegetable fillings. They are a versatile and quick lunch option that allows 12 year-olds to customize their fillings, promoting creativity and healthy eating habits.
Key Ingredients:
- 4 large flour tortillas
- 1 1/2 cups shredded cheese (cheddar, mozzarella, or a blend)
- 1/2 cup diced bell peppers
- 1/2 cup diced onions
- 1/4 cup cooked and shredded chicken (optional)
- Cooking spray or a small amount of vegetable oil
- Optional: Salsa, guacamole, or sour cream for dipping
Instructions:
- Prepare the Ingredients:
Wash and dice the bell peppers and onions. If using chicken, ensure it is cooked and shredded. - Assemble the Quesadillas:
Lay out a tortilla flat on a clean surface. Sprinkle an even layer of shredded cheese over half of the tortilla. - Add Fillings:
Add diced bell peppers, onions, and shredded chicken (if using) on top of the cheese. Sprinkle a little more cheese over the fillings to help the quesadilla stick together. - Fold the Tortilla:
Fold the tortilla in half to cover the fillings, creating a semi-circle. - Cook the Quesadilla:
Heat a non-stick skillet over medium heat and lightly spray with cooking spray or add a small amount of vegetable oil. Place the folded quesadilla in the skillet. - Toast Until Golden:
Cook for 2-3 minutes on each side, or until the tortilla is golden brown and the cheese is melted. Press down gently with a spatula to ensure even cooking. - Slice and Serve:
Remove the quesadilla from the skillet and let it cool for a minute. Slice into wedges using a pizza cutter or child-safe knife. Serve with salsa, guacamole, or sour cream if desired.
Safety Tips:
- Heat Safety: Be cautious with the hot skillet. Use oven mitts or handle with care to avoid burns.
- Knife Safety: If slicing cooked chicken, use child-safe knives or have an adult assist.
- Pressing Quesadillas: Use utensils like spatulas to press the quesadilla instead of hands to avoid burns.
Nutritional Benefits:
- Whole Wheat Tortillas: Provide fiber and carbohydrates for energy.
- Cheese: Offers calcium and protein for bone health.
- Vegetables: Bell peppers and onions add vitamins, minerals, and fiber.
- Optional Chicken: Adds lean protein, enhancing the nutritional profile.
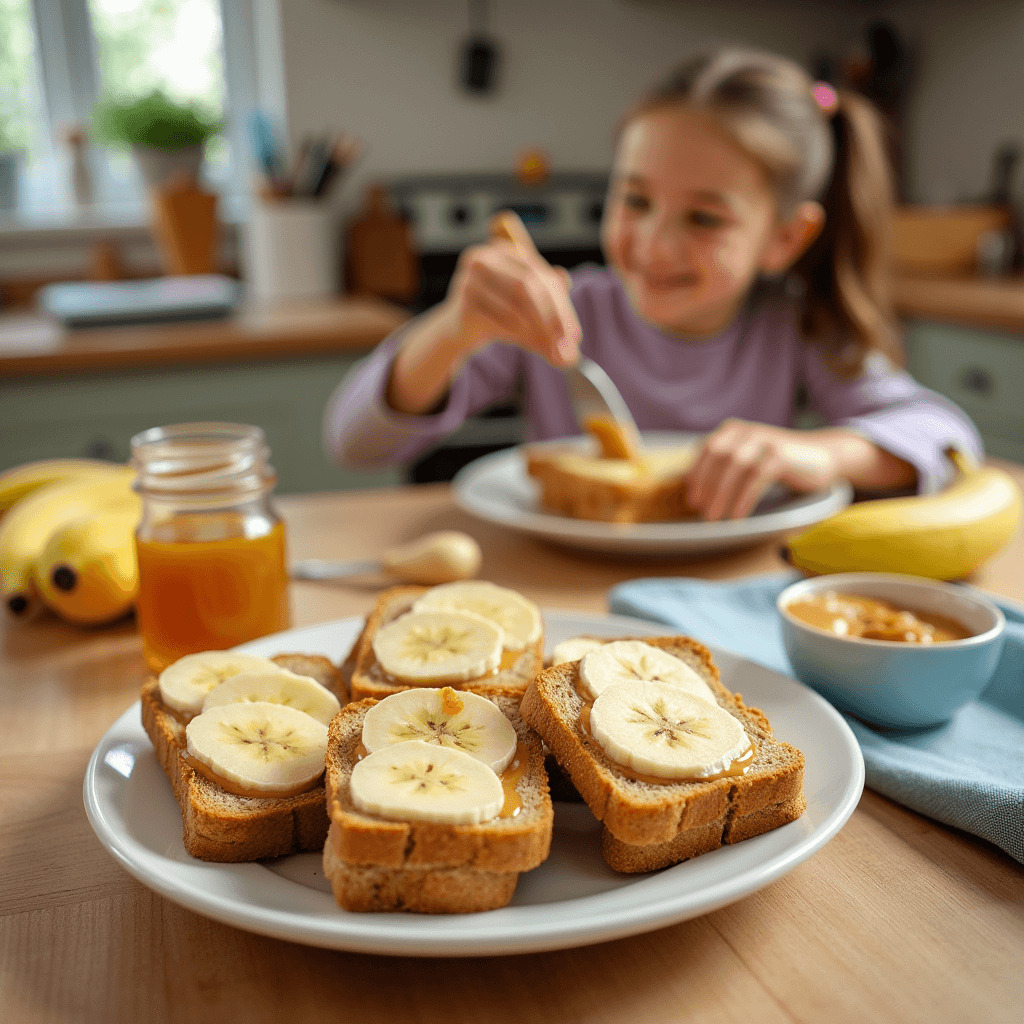
C. Peanut Butter and Banana Sandwiches
Description:
Peanut Butter and Banana Sandwiches are classic and nutritious sandwiches with a sweet twist. They are simple to make and provide a balanced mix of protein, healthy fats, and carbohydrates, making them an ideal lunch option for 12 year-olds.
Key Ingredients:
- 4 slices whole wheat bread
- 1/2 cup peanut butter (creamy or crunchy)
- 2 bananas, sliced
- 2 tablespoons honey (optional)
- 1/4 teaspoon cinnamon (optional)
Instructions:
- Prepare the Ingredients:
Peel the bananas and slice them into thin rounds. Lay out the slices of whole wheat bread on a clean surface. - Spread the Peanut Butter:
Evenly spread peanut butter on one side of each slice of bread. Use a knife or a spreader to ensure the peanut butter covers the entire surface. - Add Banana Slices:
Arrange the banana slices on top of the peanut butter on two of the bread slices. Space them evenly for a uniform appearance. - Add Honey and Cinnamon (Optional):
Drizzle honey over the banana slices for added sweetness. Sprinkle a pinch of cinnamon for extra flavor if desired. - Assemble the Sandwiches:
Place the remaining bread slices on top of the banana-covered slices, peanut butter side down, to form complete sandwiches. - Cut and Serve:
Using a child-safe knife, cut the sandwiches into halves or quarters for easy eating. Serve immediately or wrap them for lunch on the go.
Safety Tips:
- Knife Safety: Use a child-safe knife for spreading peanut butter and slicing bananas. Have an adult assist if needed.
- Choking Hazards: Ensure banana slices are cut thinly to prevent choking.
- Allergy Awareness: Be aware of peanut allergies and substitute with other spreads like almond butter if necessary.
Nutritional Benefits:
- Whole Wheat Bread: Provides fiber and sustained energy.
- Peanut Butter: Adds protein and healthy fats for satiety and muscle health.
- Bananas: Rich in potassium and vitamins, offering natural sweetness and energy.
- Honey (Optional): Serves as a natural sweetener with additional nutrients.
- Cinnamon (Optional): Adds antioxidants and can help regulate blood sugar levels.
Tips for Successful Lunch Preparation with 12 Year-Olds
- Promote Creativity:
Encourage your child to experiment with different toppings and ingredients in their mini pita pizzas and quesadillas. This not only makes lunch more enjoyable but also allows them to develop their culinary creativity. - Teach Organizational Skills:
Use these recipes to help your child organize their workspace, measure ingredients accurately, and follow step-by-step instructions, fostering independence in the kitchen. - Emphasize Hygiene:
Reinforce the importance of washing hands before handling food and cleaning surfaces after preparation to maintain a clean and safe cooking environment. - Encourage Balanced Meals:
Discuss the importance of including a balance of proteins, carbohydrates, and vegetables in their lunches to ensure they are getting a well-rounded meal. - Celebrate Success:
Applaud your child’s efforts and the meals they create, boosting their confidence and encouraging them to continue exploring their cooking skills.
By integrating these kid-friendly lunch recipes into your 12 year-old’s meal planning, you’re providing them with tasty, nutritious, and easy-to-prepare options that promote healthy eating habits and foster a love for cooking. These recipes are perfect for school lunches, after-school snacks, or a fun family meal, ensuring your young chef has a variety of delicious dishes to enjoy and share.
4.Dinner Recipes
Introduce simple dinner options that 12 year-olds can help prepare, making mealtime enjoyable for the whole family. These kid-friendly dinner recipes are designed to be easy to assemble, nutritious, and delicious, encouraging young chefs to take an active role in the kitchen. From classic pasta dishes to vibrant stir-fries and savory quesadillas, these recipes promote independence, creativity, and healthy eating habits in 12 year-olds.
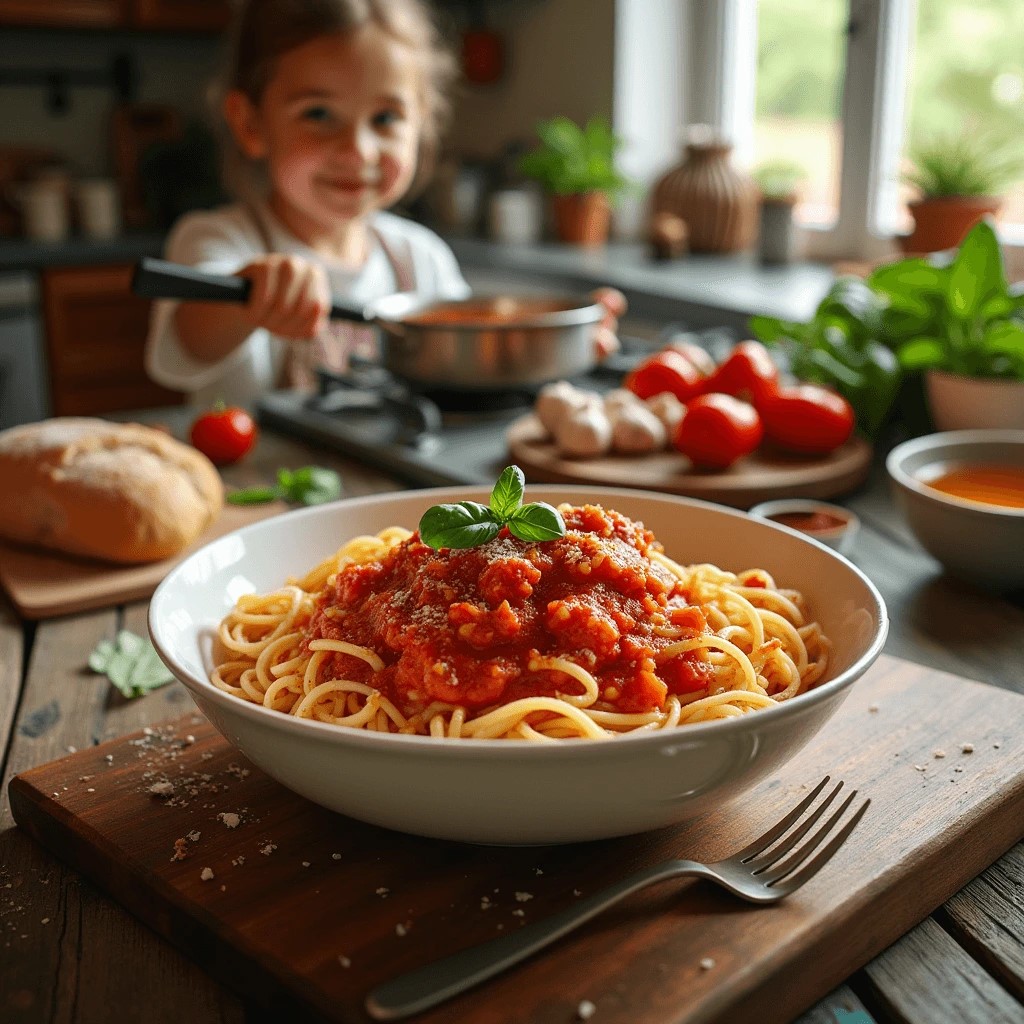
A. Easy Spaghetti with Tomato Sauce
Description:
Easy Spaghetti with Tomato Sauce is a classic and comforting dinner option that 12 year-olds can easily prepare. This simple homemade tomato sauce pairs perfectly with spaghetti, providing a delicious and satisfying meal that’s both nutritious and quick to make.
Key Ingredients:
- 12 ounces spaghetti
- 2 tablespoons olive oil
- 3 cloves garlic, minced
- 1 can (28 ounces) crushed tomatoes
- 1 teaspoon dried oregano
- 1 teaspoon dried basil
- Salt and pepper to taste
- Fresh basil leaves (optional, for garnish)
- Grated Parmesan cheese (optional)
Instructions:
- Cook the Spaghetti:
- Fill a large pot with water and bring it to a boil. Add a generous amount of salt to the boiling water.
- Add the spaghetti to the boiling water and cook according to the package instructions until al dente.
- Once cooked, drain the spaghetti and set it aside.
- Prepare the Tomato Sauce:
- In a large skillet or saucepan, heat the olive oil over medium heat.
- Add the minced garlic and sauté for about 1 minute until fragrant, being careful not to let it burn.
- Pour in the crushed tomatoes, stirring to combine with the garlic and olive oil.
- Add the dried oregano and dried basil. Season with salt and pepper to taste.
- Bring the sauce to a simmer and let it cook for about 10-15 minutes, allowing the flavors to meld together.
- Combine and Serve:
- Add the cooked spaghetti to the tomato sauce, tossing to ensure the pasta is well coated.
- Cook together for an additional 2-3 minutes to allow the spaghetti to absorb some of the sauce.
- Serve the spaghetti hot, garnished with fresh basil leaves and grated Parmesan cheese if desired.
Safety Tips:
- Boiling Water Safety:
Ensure the pot is placed securely on the stove to prevent spills. Use pot holders when handling hot pots. - Knife Safety:
When mincing garlic or handling other ingredients, use child-safe knives or have an adult assist to prevent cuts. - Hot Sauce Handling:
Be cautious when stirring or pouring hot tomato sauce to avoid splashes that can cause burns.
Nutritional Benefits:
- Whole Wheat Spaghetti:
Provides fiber and sustained energy for active days. - Tomato Sauce:
Rich in vitamins A and C, antioxidants, and lycopene, which are beneficial for immune health and skin. - Garlic:
Offers anti-inflammatory properties and supports heart health. - Olive Oil:
Contains healthy monounsaturated fats that are good for heart health.
B. Veggie Stir-Fry
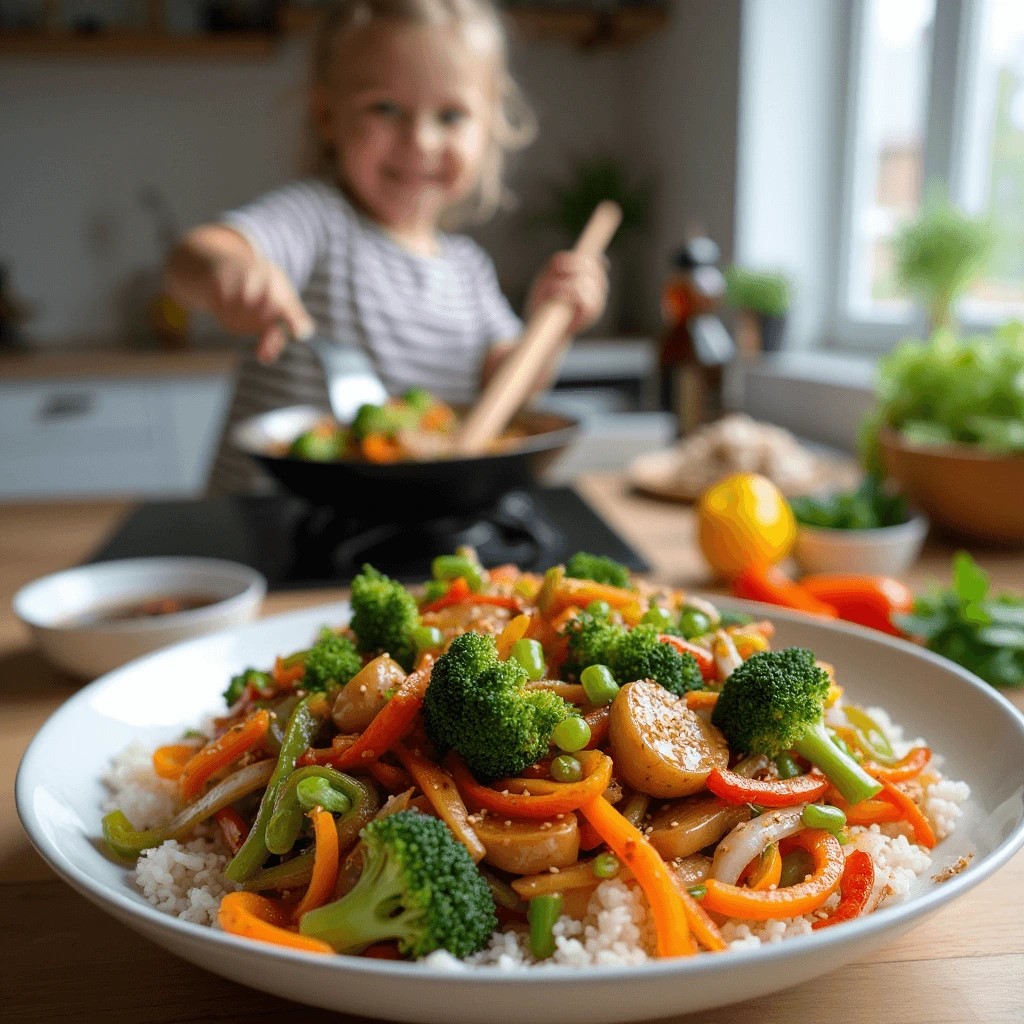
Description:
Veggie Stir-Fry is a colorful and nutritious dinner option that 12 year-olds can easily prepare. Packed with a variety of vegetables and a flavorful sauce, this stir-fry promotes healthy eating and allows young cooks to experiment with different ingredients and flavors.
Key Ingredients:
- 2 tablespoons vegetable oil
- 1 cup broccoli florets
- 1 cup sliced carrots
- 1 cup snap peas or green beans
- 1 bell pepper (any color), sliced
- 1 onion, sliced
- 2 cloves garlic, minced
- 1 tablespoon soy sauce
- 1 tablespoon hoisin sauce (optional)
- 1 teaspoon sesame oil (optional)
- Cooked rice or noodles, for serving
- Sesame seeds (optional, for garnish)
Instructions:
- Prepare the Vegetables:
- Wash and slice all vegetables into uniform pieces to ensure even cooking.
- Mince the garlic and set aside.
- Heat the Oil:
- In a large skillet or wok, heat the vegetable oil over medium-high heat.
- Once the oil is hot, add the minced garlic and sauté for about 30 seconds until fragrant.
- Cook the Vegetables:
- Add the sliced onions to the skillet and stir-fry for 2 minutes until they begin to soften.
- Add the carrots and broccoli florets, stirring frequently to prevent burning.
- Continue to stir-fry for another 3-4 minutes until the vegetables are tender-crisp.
- Add the snap peas or green beans and bell pepper slices, cooking for an additional 2 minutes.
- Add the Sauce:
- Pour in the soy sauce and hoisin sauce (if using), stirring to evenly coat the vegetables.
- Drizzle with sesame oil (if using) for added flavor.
- Stir-fry for another minute, ensuring all vegetables are well-coated with the sauce.
- Serve:
- Remove the skillet from heat and transfer the veggie stir-fry to serving plates.
- Serve hot over cooked rice or noodles.
- Garnish with sesame seeds if desired.
Safety Tips:
- Hot Oil Handling:
Be cautious when adding oil to the hot skillet to prevent splatters. Use pot holders or oven mitts when handling hot pans. - Knife Safety:
Use child-safe knives or have an adult assist with slicing vegetables to prevent cuts. - Stir-Frying Safety:
Keep hands and utensils away from the hot oil to avoid burns. Stir continuously to prevent oil from splattering.
Nutritional Benefits:
- Broccoli:
High in vitamins C and K, fiber, and antioxidants. - Carrots:
Rich in beta-carotene, fiber, and vitamin A, promoting good vision and immune health. - Snap Peas/Green Beans:
Provide vitamins A, C, and K, as well as fiber for digestive health. - Bell Peppers:
Loaded with vitamin C, antioxidants, and fiber. - Soy Sauce and Hoisin Sauce:
Add flavor without excessive calories, though it’s important to monitor sodium intake.
C. Chicken Quesadillas
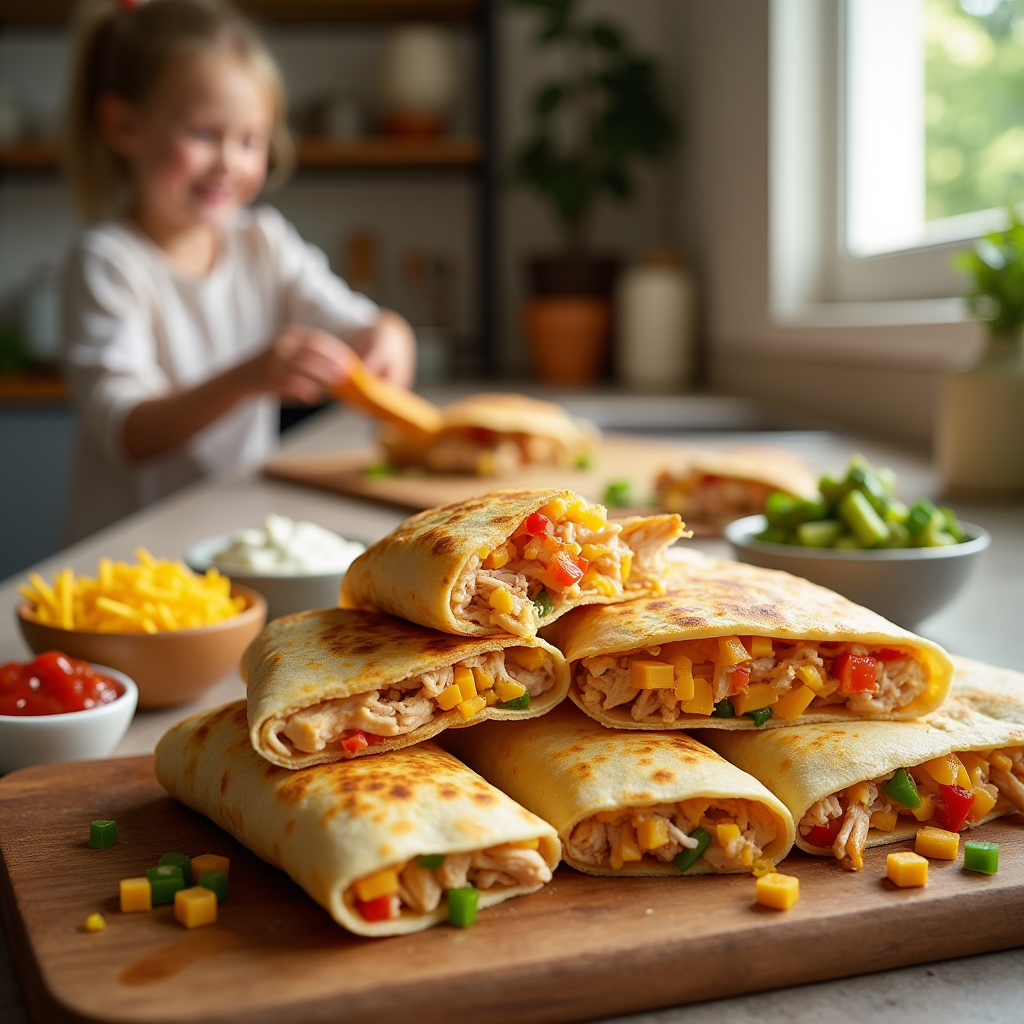
Description:
Chicken Quesadillas are savory and satisfying quesadillas filled with tender chicken and melted cheese. This versatile recipe allows 12 year-olds to customize their quesadillas with additional ingredients like vegetables or spices, making it a fun and easy dinner option for the whole family.
Key Ingredients:
- 4 large flour tortillas
- 2 cups cooked chicken, shredded or diced
- 1 1/2 cups shredded cheese (cheddar, mozzarella, or a blend)
- 1/2 cup salsa
- 1/4 cup sour cream (optional)
- 1 tablespoon vegetable oil or cooking spray
- Optional: diced bell peppers, onions, corn, black beans, jalapeños
Instructions:
- Prepare the Ingredients:
- If using fresh vegetables (bell peppers, onions), wash and dice them into small pieces.
- Ensure the cooked chicken is shredded or diced for even distribution.
- Assemble the Quesadillas:
- Lay out the flour tortillas on a clean surface.
- On one half of each tortilla, sprinkle a layer of shredded cheese.
- Add a layer of cooked chicken on top of the cheese.
- If desired, add optional ingredients like diced bell peppers, onions, corn, black beans, or jalapeños.
- Spoon a small amount of salsa over the chicken and vegetables.
- Sprinkle another layer of shredded cheese on top to help hold the quesadilla together.
- Fold the Tortillas:
- Fold the other half of the tortilla over the filling to create a semi-circle.
- Cook the Quesadillas:
- Heat a large skillet or griddle over medium heat and add vegetable oil or spray with cooking spray.
- Place the folded quesadillas in the skillet, one or two at a time depending on the skillet size.
- Cook for 2-3 minutes on each side, or until the tortillas are golden brown and the cheese is melted.
- Use a spatula to press down gently on the quesadillas for even cooking.
- Serve:
- Remove the quesadillas from the skillet and let them cool for a minute.
- Slice into wedges using a pizza cutter or child-safe knife.
- Serve hot with additional salsa and sour cream on the side if desired.
Safety Tips:
- Heat Safety:
Handle the hot skillet or griddle with care. Use oven mitts to prevent burns. - Knife Safety:
If slicing fresh vegetables or cooked chicken, use child-safe knives or have an adult assist. - Hot Fillings:
Be cautious when adding and removing quesadillas from the skillet to avoid spills of hot fillings.
Nutritional Benefits:
- Chicken:
Provides lean protein essential for muscle growth and repair. - Cheese:
Offers calcium and protein for strong bones and teeth. - Vegetables:
Add vitamins, minerals, and fiber, enhancing the nutritional value of the meal. - Whole Wheat Tortillas (if used):
Provide additional fiber and nutrients compared to refined flour tortillas.
Tips for Successful Dinner Preparation with 12 Year-Olds
- Encourage Customization:
Allow your child to personalize their dinner by choosing their favorite toppings and ingredients. This fosters creativity and makes the cooking process more enjoyable. - Teach Time Management:
Use these recipes to help your child learn how to plan and manage their time in the kitchen, ensuring all components of the meal are ready simultaneously. - Emphasize Cleanliness:
Instill the importance of cleaning up as they go, including washing hands before cooking, wiping down surfaces, and properly storing leftovers. - Promote Teamwork:
Encourage your 12 year-old to collaborate with family members during meal preparation, enhancing their ability to work as part of a team. - Discuss Nutritional Balance:
Use dinner preparation as an opportunity to talk about the importance of balanced meals, including a mix of proteins, carbohydrates, and vegetables for overall health. - Celebrate Creativity:
Praise your child’s efforts and innovative combinations, reinforcing their enthusiasm for cooking and exploring new flavors.
By incorporating these kid-friendly dinner recipes into your 12 year-old’s meal planning, you’re providing them with delicious, nutritious, and easy-to-prepare options that promote healthy eating habits and foster a love for cooking. These dinners are perfect for family meals, school nights, or special occasions, ensuring your young chef feels confident and proud of their culinary creations.
5.Dessert Recipes
End the meal on a sweet note with these easy-to-make desserts that 12 year-olds will love. These easy dessert ideas are not only delicious but also promote creativity and healthy eating habits. From quick no-bake cookies to colorful fruit kabobs and fun chocolate-dipped treats, these recipes are designed to be simple, safe, and enjoyable for young chefs to prepare.
A. No-Bake Cookies
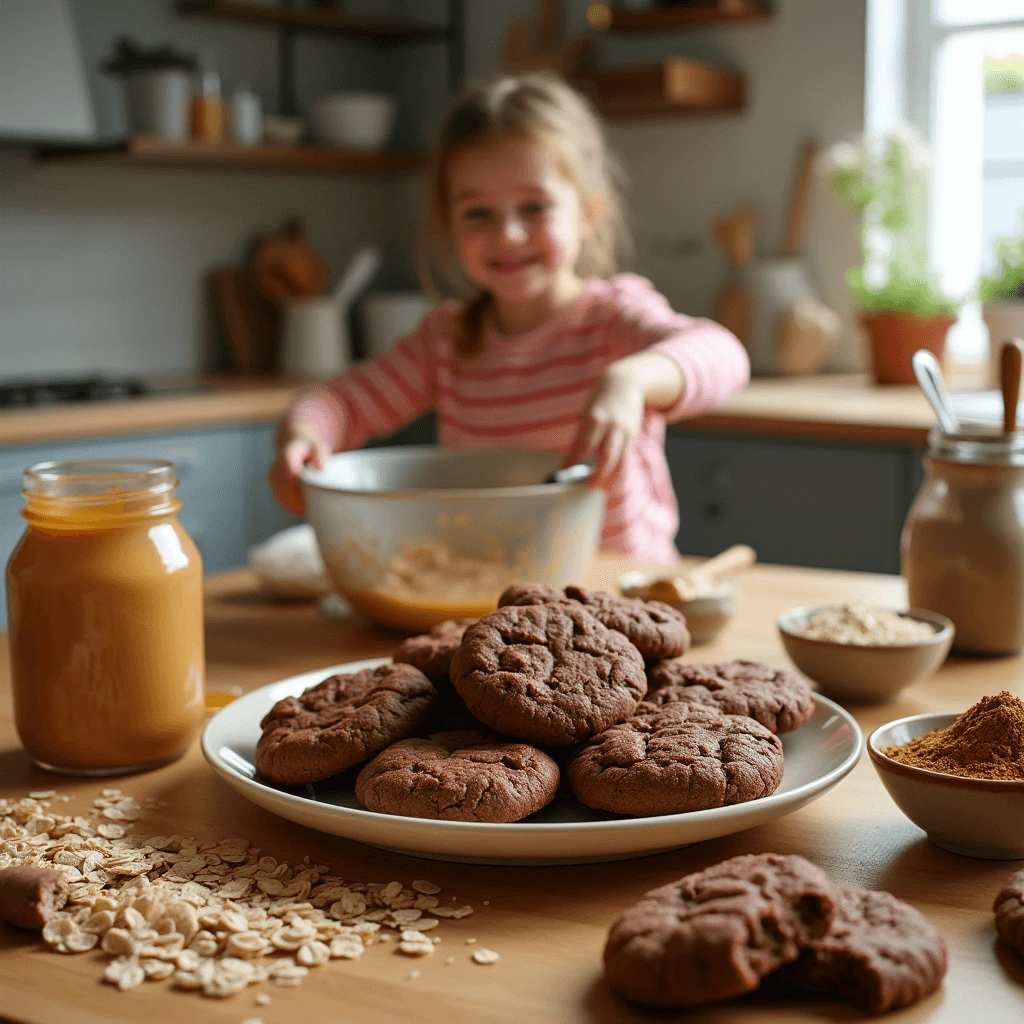
Description:
No-Bake Cookies are quick and easy treats that require no baking. Perfect for satisfying sweet cravings without heating up the kitchen, these cookies combine wholesome ingredients like oats and peanut butter with rich cocoa for a delightful and nutritious dessert.
Key Ingredients:
- 2 cups rolled oats
- 1/2 cup peanut butter
- 1/2 cup honey or maple syrup
- 1/4 cup cocoa powder
- 1 teaspoon vanilla extract
- Pinch of salt
- 1/4 cup chocolate chips (optional)
Instructions:
- Prepare the Mixture:
In a large mixing bowl, combine the peanut butter, honey (or maple syrup), cocoa powder, vanilla extract, and a pinch of salt. Stir until the mixture is smooth and well blended. - Add the Oats:
Gradually add the rolled oats to the mixture, stirring continuously to ensure the oats are evenly coated. If using chocolate chips, fold them in at this stage. - Shape the Cookies:
Using a spoon or your hands, scoop out small portions of the mixture and shape them into cookies. Place the shaped cookies onto a parchment-lined baking sheet. - Chill the Cookies:
Refrigerate the cookies for at least 30 minutes to allow them to set and firm up. - Serve and Enjoy:
Once chilled, remove the cookies from the refrigerator and enjoy immediately. Store any leftovers in an airtight container in the refrigerator for up to a week.
Safety Tips:
- Handle Ingredients Carefully: Ensure all ingredients are measured accurately to maintain the right consistency.
- Avoid Cross-Contamination: If using nut-based peanut butter, be cautious if anyone has nut allergies.
- Use Safe Utensils: Use child-safe utensils for mixing and shaping the cookies to prevent accidents.
Nutritional Benefits:
- Oats provide fiber and sustained energy.
- Peanut Butter adds protein and healthy fats.
- Cocoa Powder offers antioxidants and a rich chocolate flavor.
- Honey serves as a natural sweetener with additional nutrients.
B. Fruit Kabobs
Description:
Fruit Kabobs are colorful skewers of assorted fruits that make for a healthy and visually appealing dessert. This fun and interactive recipe encourages 12 year-olds to incorporate more fruits into their diet while enjoying the process of assembling their own tasty treats.

Key Ingredients:
- 1 cup strawberries, hulled and halved
- 1 cup pineapple chunks
- 1 cup grapes
- 1 cup melon (cantaloupe or honeydew), cubed
- 10 wooden skewers or plastic kabob sticks
- Optional: Yogurt dip or melted chocolate for drizzling
Instructions:
- Prepare the Fruits:
Wash all fruits thoroughly. Hull and halve the strawberries, cut the pineapple and melon into bite-sized chunks, and leave the grapes whole. - Assemble the Kabobs:
Let your 12 year-old thread the fruits onto the skewers, alternating between different types of fruits to create a colorful and balanced kabob. - Add Optional Toppings:
For added flavor, drizzle the assembled fruit kabobs with yogurt dip or melted chocolate. This step is optional but adds a delightful touch to the dessert. - Serve and Enjoy:
Arrange the fruit kabobs on a serving platter and serve immediately. They can also be refrigerated for up to two hours before serving if desired.
Safety Tips:
- Choking Hazards: Ensure that fruits are cut into appropriate sizes to prevent choking.
- Allergy Awareness: Be mindful of any allergies, especially if using chocolate or yogurt dips.
- Skewer Safety: Use blunt-tipped skewers or plastic kabob sticks to prevent accidental pokes.
Nutritional Benefits:
- Strawberries: Rich in vitamin C and antioxidants.
- Pineapple: High in vitamin C and bromelain, aiding digestion.
- Grapes: Provide vitamins K and C, along with antioxidants.
- Melon: Offers hydration and essential vitamins like A and C.
- Yogurt Dip (Optional): Adds protein and probiotics for gut health.
- Chocolate (Optional): Contains antioxidants and provides a sweet treat.
C. Chocolate-Dipped Marshmallows
Description:
Chocolate-Dipped Marshmallows are fun and easy treats that combine the fluffiness of marshmallows with the rich taste of melted chocolate. These bite-sized desserts are perfect for 12 year-olds to prepare, offering a sweet and satisfying end to any meal.

Key Ingredients:
- 20 large marshmallows
- 1 cup chocolate chips (semi-sweet or milk chocolate)
- 1/2 cup sprinkles or toppings of choice
- 1 tablespoon coconut oil or vegetable oil (optional, for smoother chocolate)
- Parchment paper or silicone baking mats
Instructions:
- Prepare the Workspace:
Line a baking sheet with parchment paper or silicone baking mats to place the dipped marshmallows. - Melt the Chocolate:
In a microwave-safe bowl, combine the chocolate chips and coconut oil (if using). Microwave in 30-second intervals, stirring between each, until the chocolate is fully melted and smooth. - Dip the Marshmallows:
Using a fork or toothpick, dip each marshmallow into the melted chocolate, ensuring it is fully coated. Allow any excess chocolate to drip off before placing the marshmallow on the prepared baking sheet. - Add Toppings:
Immediately sprinkle your chosen toppings (such as sprinkles, crushed nuts, or coconut) over the chocolate-coated marshmallows while the chocolate is still wet. - Set the Chocolate:
Place the baking sheet in the refrigerator for about 15 minutes, or until the chocolate has hardened. - Serve and Enjoy:
Once the chocolate is set, remove the marshmallows from the refrigerator and enjoy. Store any leftovers in an airtight container at room temperature for up to two days.
Safety Tips:
- Hot Chocolate Handling:
Be cautious when handling melted chocolate to prevent burns. Use microwave-safe bowls and handle with care. - Choking Hazards:
Ensure that marshmallows are of an appropriate size to prevent choking, especially if adding small toppings. - Mess Prevention:
Use a fork or toothpick to dip the marshmallows to avoid getting hands sticky from melted chocolate.
Nutritional Benefits:
- Marshmallows:
Provide a quick source of energy through simple carbohydrates. - Chocolate:
Contains antioxidants and can improve mood. Using dark chocolate increases the antioxidant content. - Sprinkles (Optional):
Add a fun and colorful touch, though they should be used in moderation due to added sugars.
Tips for Successful Dessert Preparation with 12 Year-Olds
- Promote Creativity:
Encourage your child to experiment with different toppings and ingredients for their no-bake cookies and chocolate-dipped marshmallows. This fosters creativity and makes the cooking process more enjoyable. - Teach Measuring Skills:
Use these dessert recipes as an opportunity to practice math skills by measuring ingredients accurately. This not only improves their cooking abilities but also reinforces important academic concepts. - Emphasize Hygiene:
Reinforce the importance of washing hands before handling food and cleaning surfaces after preparation to maintain a clean and safe cooking environment. - Promote Safety Awareness:
Discuss and practice kitchen safety rules, such as handling hot equipment carefully, using child-safe utensils, and being cautious with small toppings to prevent choking. - Encourage Sharing:
Suggest that your 12 year-old share their homemade desserts with family members or friends. This not only boosts their confidence but also teaches them the joy of sharing their culinary creations. - Celebrate Success:
Praise your child’s efforts and the desserts they create, reinforcing their enthusiasm for cooking and encouraging them to continue exploring their baking skills.
By incorporating these easy dessert recipes into your 12 year-old’s repertoire, you’re providing them with delightful and nutritious options that end meals on a positive note. These desserts are perfect for family gatherings, school events, or simply enjoying a sweet treat at home, all while nurturing a love for cooking and healthy eating in your young chef!
Conclusion
Cooking is a wonderful way to engage 12 year-olds in a meaningful and enjoyable activity that goes beyond the kitchen. The 10 easy recipes presented in this blog post are not only delicious and nutritious but also designed to spark a love for cooking in young chefs. By exploring these fun and simple ideas, your child can develop essential life skills, such as responsibility, creativity, and math skills through measuring ingredients. These recipes provide a perfect blend of independence and guidance, allowing 12 year-olds to take pride in their culinary creations while enjoying the process of preparing their own meals.
Recap the Benefits
These easy recipes for 12 year-olds to cook offer numerous benefits that extend beyond just making tasty dishes:
- Skill Development: Cooking helps children develop important skills like measuring, following instructions, and time management.
- Healthy Eating Habits: By preparing their own meals, children become more aware of nutritious ingredients and balanced diets.
- Confidence Building: Successfully creating a dish boosts self-esteem and encourages further exploration in the kitchen.
- Creativity and Independence: Allowing children to customize recipes fosters creativity and a sense of independence.
We invite you and your 12 year-old to try out these recipes and embark on your own culinary adventures together. Share your experiences, favorite tweaks, and any fun moments you had while cooking. Your feedback not only inspires other parents and young chefs but also helps us create even more engaging and tailored recipes in the future.
Enjoyed these kid-friendly recipes? Don’t miss out on more easy recipes for 12 year-olds to cook and other exciting cooking tips! Subscribe to our blog to receive regular updates, new recipes, and expert advice on nurturing your child’s love for cooking. Join our community of parents and young chefs who are making the kitchen a place of fun, learning, and delicious discoveries.
By incorporating these easy recipes for 12 year-olds to cook and exploring various fun and simple ideas, you’re setting the stage for a lifelong appreciation of cooking in your child. These recipes not only make mealtime enjoyable but also provide a platform for 12 year-olds to express their creativity and develop essential life skills. Whether it’s a quick breakfast smoothie, a hearty dinner, or a sweet dessert, these easy and fun recipes are perfect for young chefs looking to take charge in the kitchen.
Thank you for reading! We hope these easy recipes for 12 year-olds to cook inspire your young chef to explore the joys of cooking. Don’t forget to subscribe and stay tuned for more kid-friendly recipes and cooking tips designed to make every meal a delightful experience for the whole family.
Feel free to reach out if you have any questions, suggestions, or need further assistance with your culinary journey. Happy cooking!

