If you’re looking to add a customizable and crowd-pleasing dish to your culinary repertoire, Mini Pizzas are the perfect choice. Ideal for parties, family dinners, or a fun cooking activity with kids, these bite-sized delights offer all the flavors of traditional pizza in a convenient, personal size. Let me guide you through crafting these delicious snacks in your own kitchen.
Ingredients
For the Dough (Makes about 12 mini pizzas):
- 2 ½ cups all-purpose flour
- 1 teaspoon sugar
- 1 teaspoon salt
- 1 packet (2 ¼ teaspoons) active dry yeast
- 1 cup warm water (110°F/45°C)
- 2 tablespoons olive oil
For the Toppings:
- 1 cup pizza sauce (store-bought or homemade)
- 2 cups shredded mozzarella cheese
- Assorted toppings, such as:
- Pepperoni slices
- Diced bell peppers
- Sliced mushrooms
- Sliced olives
- Diced onions
- Fresh basil leaves
- Pineapple chunks
- Cooked sausage crumbles
Instructions
1. Prepare the Pizza Dough
- Activate Yeast: In a large mixing bowl, combine the warm water, sugar, and active dry yeast. Stir gently and let it sit for about 5 minutes until it becomes frothy, indicating the yeast is active.
- Add Dry Ingredients: Add the all-purpose flour, salt, and olive oil to the yeast mixture.
- Mix Dough: Stir the ingredients together until a shaggy dough forms.
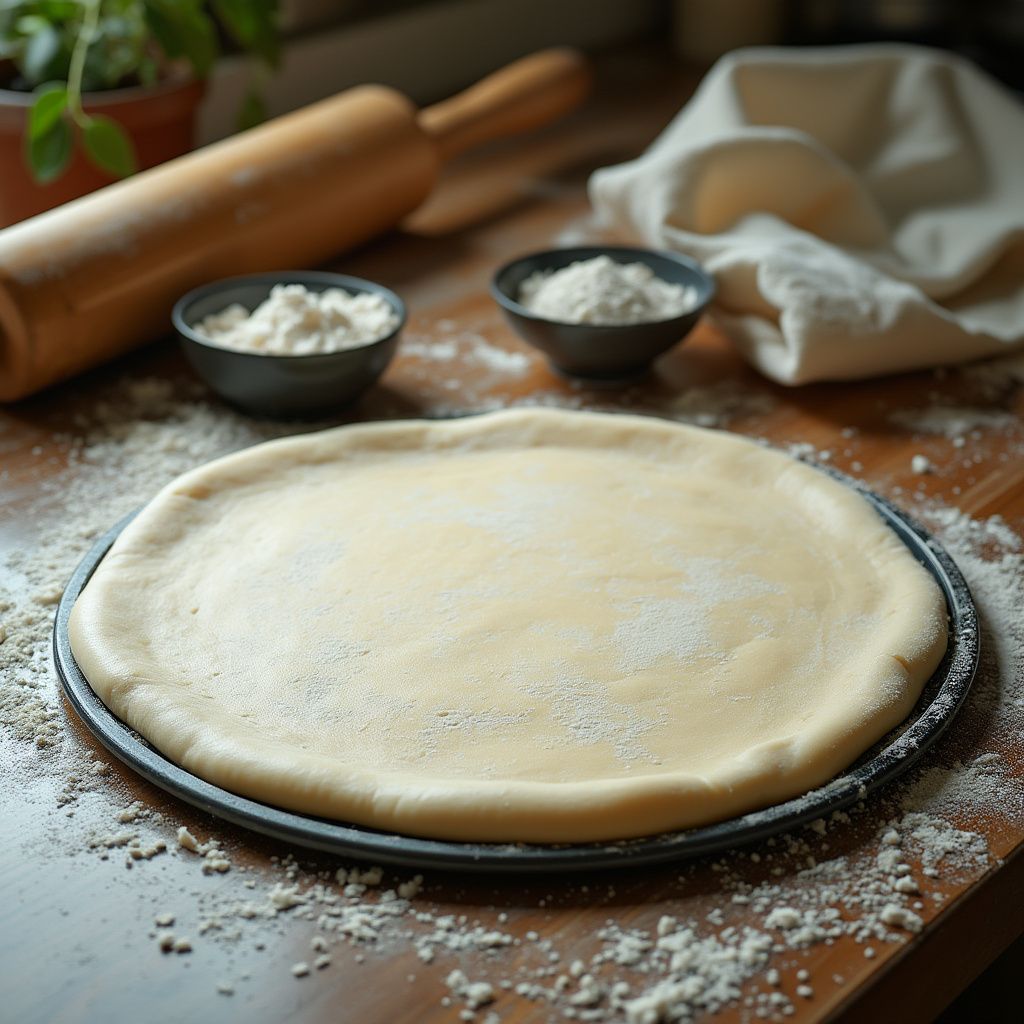
- Knead Dough: Turn the dough out onto a lightly floured surface. Knead for about 5-7 minutes until the dough is smooth and elastic.
- First Rise: Place the dough in a lightly oiled bowl, cover with a damp cloth or plastic wrap, and let it rise in a warm place for about 1 hour, or until doubled in size.

2. Preheat the Oven
- Heat Oven: Preheat your oven to 450°F (230°C). If using a pizza stone, place it in the oven to heat up.
3. Prepare the Dough Circles
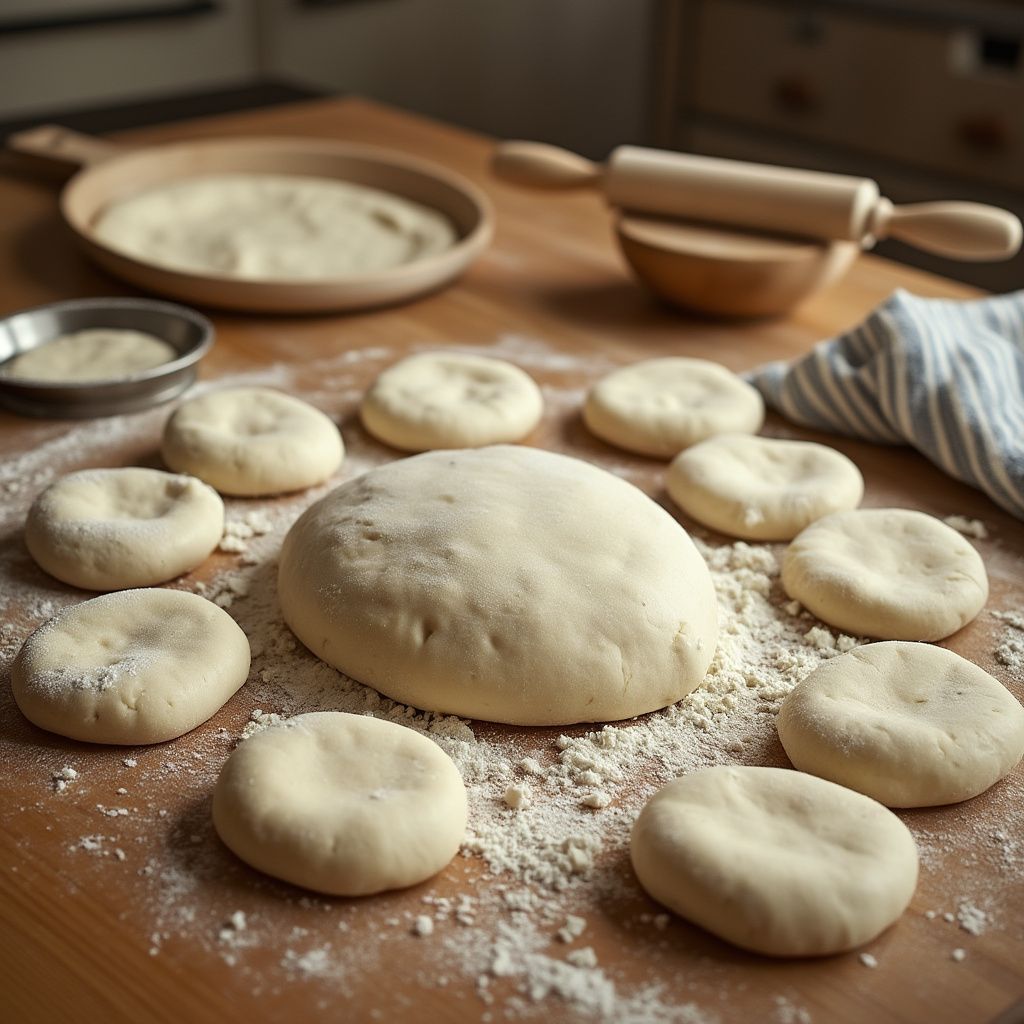
- Divide Dough: Punch down the risen dough and divide it into 12 equal pieces.

- Shape Mini Pizzas: Roll each piece into a small ball. Using a rolling pin or your hands, flatten each ball into a circle about 4-5 inches in diameter.
- Arrange on Baking Sheet: Place the dough circles on parchment-lined baking sheets or a lightly greased pizza pan.
4. Assemble the Mini Pizzas
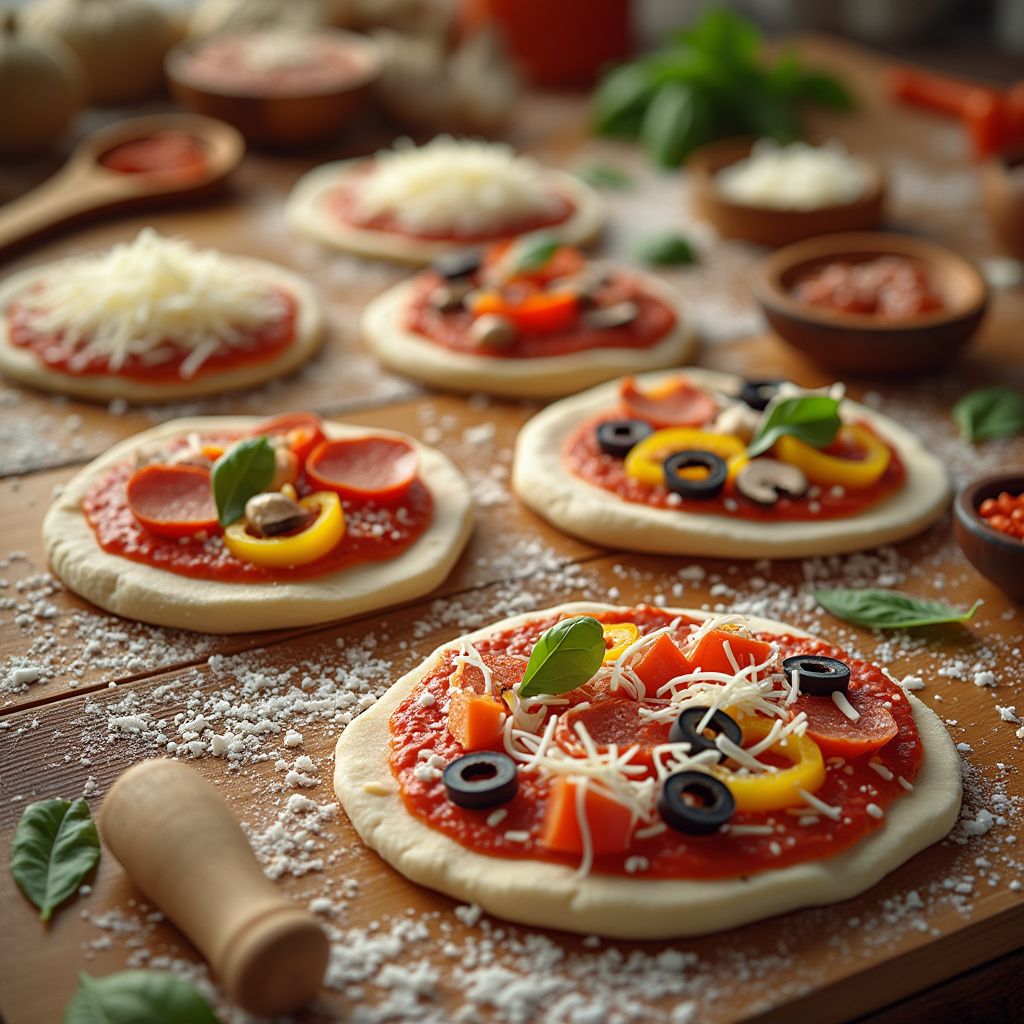
- Add Sauce: Spread a spoonful of pizza sauce onto each dough circle, leaving a small border around the edge for the crust.
- Add Cheese: Sprinkle shredded mozzarella cheese over the sauce on each mini pizza.
- Add Toppings: Customize each mini pizza with your choice of toppings. This is a great opportunity to get creative or cater to individual preferences.

5. Bake
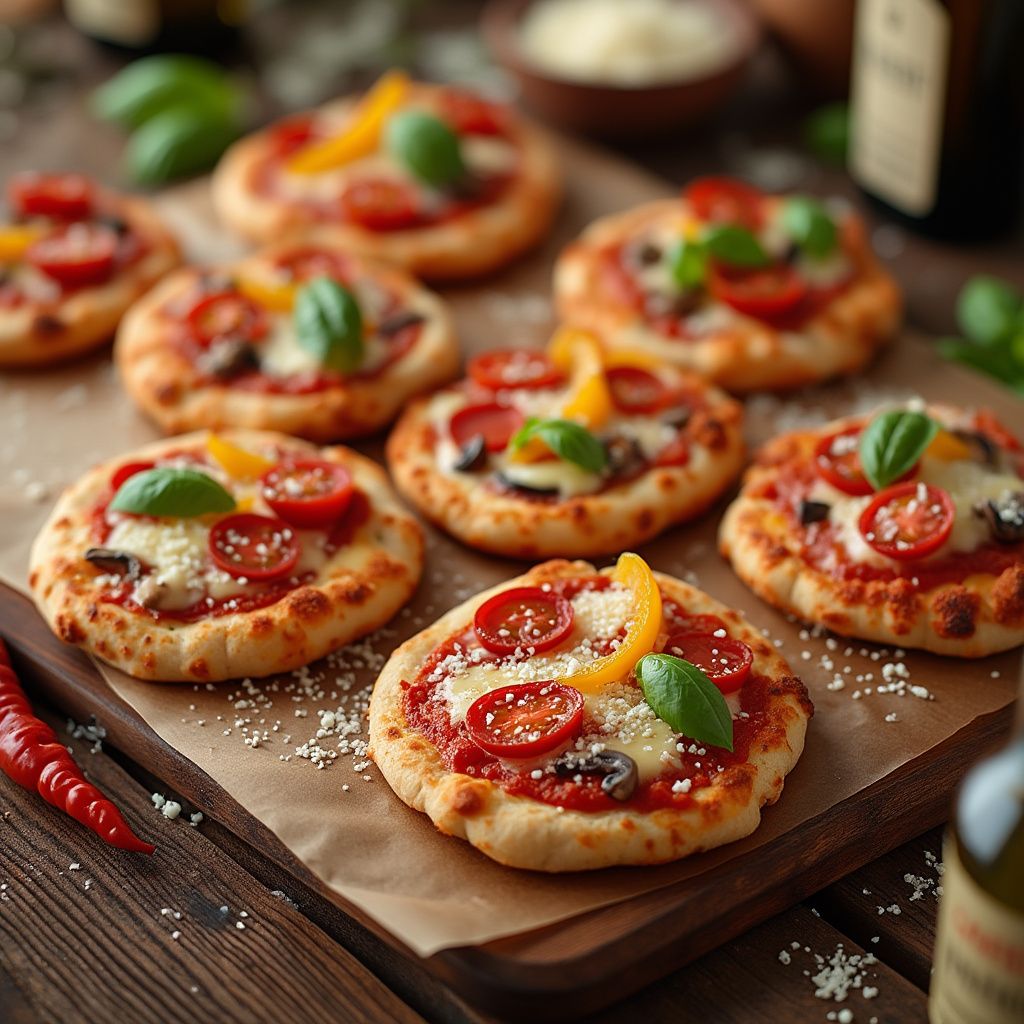
- Bake Pizzas: Place the mini pizzas in the preheated oven. Bake for 10-12 minutes, or until the crust is golden brown and the cheese is melted and bubbly.
- Monitor Cooking: Keep an eye on the pizzas to prevent overcooking, especially if using different toppings that may cook at varying rates.
6. Serve
- Cool Slightly: Allow the mini pizzas to cool for a few minutes on a wire rack to prevent the crust from becoming soggy.
- Garnish: Optionally, sprinkle with fresh basil leaves, red pepper flakes, or a drizzle of olive oil.
- Enjoy: Serve the mini pizzas warm and watch them disappear quickly!

Tips for Success
- Dough Alternatives: If short on time, use store-bought pizza dough, biscuit dough, or even pita bread as the base for your mini pizzas.
- Gluten-Free Option: Substitute with gluten-free flour or use gluten-free pizza bases to accommodate dietary restrictions.
- Sauce Variations: Try different sauces like pesto, Alfredo sauce, or barbecue sauce for unique flavor profiles.
- Cheese Choices: Experiment with various cheeses such as cheddar, provolone, feta, or goat cheese to diversify the taste.
- Make Ahead: Prepare the dough and pre-bake the crusts slightly before adding toppings. You can freeze them for later use.
- Cooking with Kids: Mini pizzas are a fantastic way to involve children in the kitchen. Let them choose and add their own toppings.
- Party Idea: Set up a mini pizza bar with various toppings and let guests assemble their own creations.
Conclusion
By mastering Mini Pizzas, you’re embracing a fun and versatile dish that’s sure to be a hit with people of all ages. This recipe allows for endless customization, making it perfect for accommodating different tastes and dietary needs. Share these delightful mini pizzas with family and friends, and enjoy the smiles that come with every bite. Buon appetito!
