If you’re looking to add a playful and nutritious snack to your culinary repertoire, Sandwich Faces are the perfect choice. Ideal for encouraging children to enjoy healthy eating, these whimsical creations turn ordinary sandwiches into delightful art. Let me guide you through crafting these entertaining and delicious snacks in your own kitchen.
Ingredients
For the Base:
- 4 slices of whole wheat or multigrain bread (or your preferred type)
- 2 tablespoons of spread (such as cream cheese, peanut butter, hummus, or almond butter)
For Decorating:
- Vegetables:
- Cucumber slices
- Cherry tomatoes
- Carrot sticks or shredded carrots
- Bell pepper slices
- Olives (black or green, pitted)
- Lettuce leaves
- Fruits:
- Apple slices
- Banana slices
- Strawberries
- Blueberries
- Grapes (halved)
- Others:
- Cheese slices or shreds
- Raisins or dried cranberries
- Pretzel sticks
- Hard-boiled eggs (sliced)
- Chocolate chips (for sweet versions)
Instructions
1. Prepare the Bread Base
- Choose Your Bread: Opt for whole wheat or multigrain bread for added nutrients. You can also use bagels, rice cakes, or English muffins for variety.
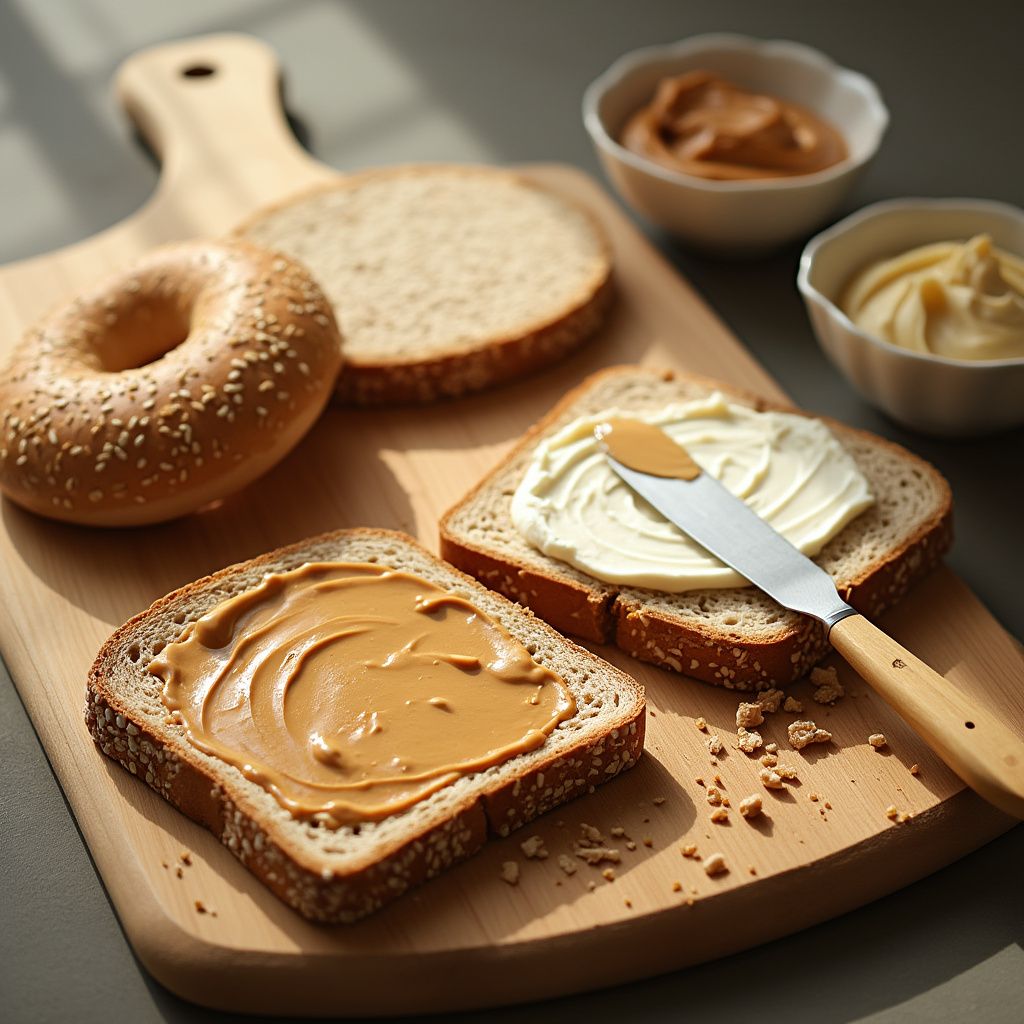
- Apply the Spread: Evenly spread your chosen base (cream cheese, peanut butter, hummus, etc.) onto one side of each bread slice. This will help the toppings stick.

2. Create the Sandwich Faces
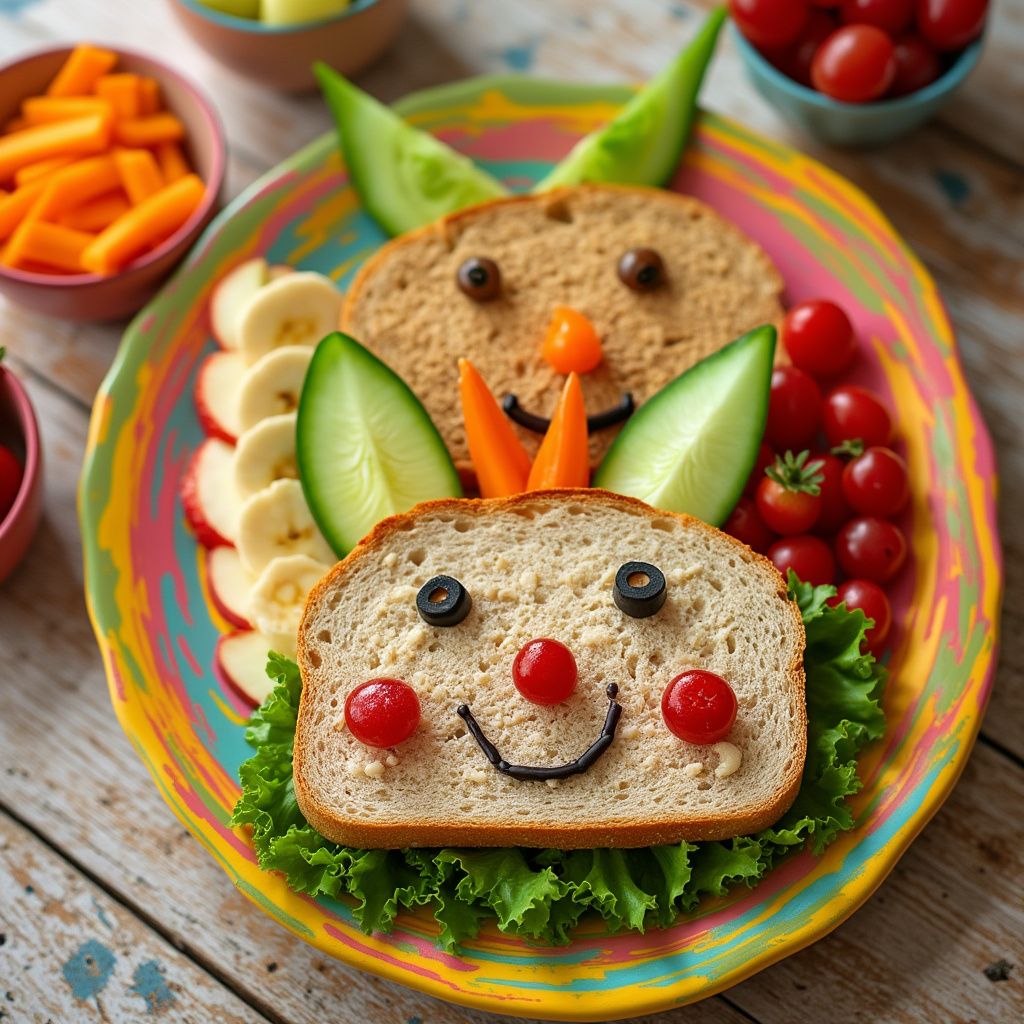
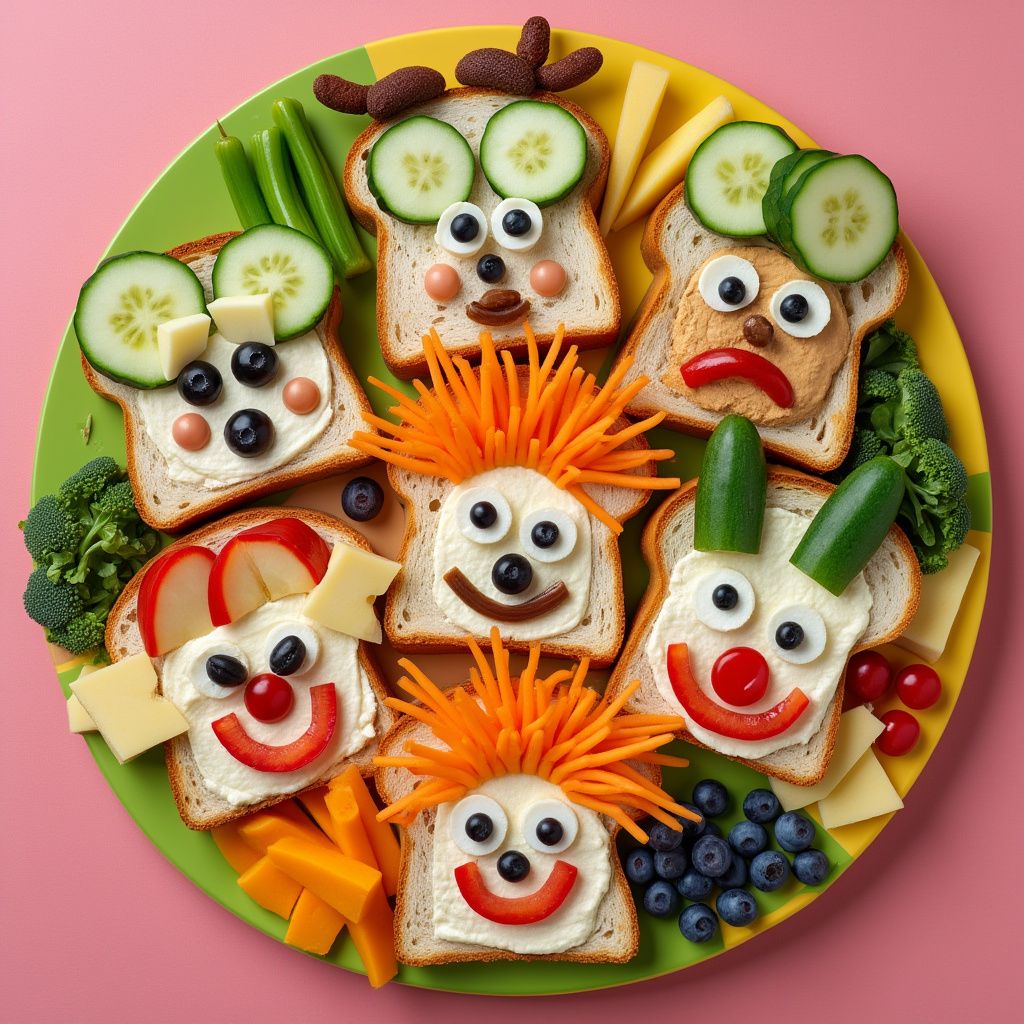
- Design the Faces: Use the assorted fruits, vegetables, and other toppings to create fun and expressive faces.
- Eyes: Place cucumber slices, cherry tomatoes, or sliced olives.
- Nose: Use a small piece of carrot, a grape, or a dollop of hummus.
- Mouth: Arrange a slice of bell pepper, a strawberry slice, or a curve of banana.
- Hair: Add shredded cheese, lettuce leaves, or grated carrots at the top.
- Ears: Attach small apple slices or mini rice cakes to the sides.
- Accessories: Use pretzel sticks for glasses or whiskers, raisins for freckles, and chocolate chips for added features.
- Encourage Creativity: Let children mix and match ingredients to make their own unique sandwich faces, fostering creativity and fun.

3. Serve
- Present the Sandwiches: Arrange the decorated sandwich faces on a platter or individual plates.

- Enjoy Immediately: Serve fresh to maintain the crispness of the ingredients.
- Accompanying Sides: Consider adding a side of yogurt, a small salad, or a cup of soup for a complete meal.
Tips for Success
- Involve the Kids: Making sandwich faces is a fantastic activity for children. It encourages them to try new foods and enjoy healthy ingredients.
- Prep Ahead: Prepare and slice all toppings in advance to make the assembly process smooth and enjoyable.
- Allergy Considerations: Be mindful of any food allergies, especially when serving to other children. Substitute nut butters with seed butters like sunflower seed butter if necessary.
- Alternative Bases: For dietary preferences, use gluten-free bread or wraps.
- Theme Ideas: Create themed faces such as animals, superheroes, or funny monsters to match party themes or seasonal events.
- Healthy Focus: Emphasize the use of fruits and vegetables to create a nutritious snack that’s both appealing and beneficial.
- Storage: If not serving immediately, cover the sandwiches with plastic wrap and refrigerate to keep ingredients fresh.
Conclusion
By mastering Sandwich Faces, you’re turning mealtime into a joyful and interactive experience. This delightful recipe not only provides a healthy snack but also sparks imagination and creativity in children. Share these fun and nutritious sandwiches with family and friends, and enjoy the laughter and smiles they bring to your table. Happy creating and bon appétit!

